Not stopping to fix small cosmetic defects during installation can result in expensive repairs after the Punch List comes out. In this introduction, we will be going over a few common types of cosmetic damage occurring during shipping or installation. We give advice on easy-to-use tools and techniques to make the fixes quick and easy. This won’t cover every conceivable situation but will provide enough of a foundation to correct most small, localized cosmetic defects that occur.
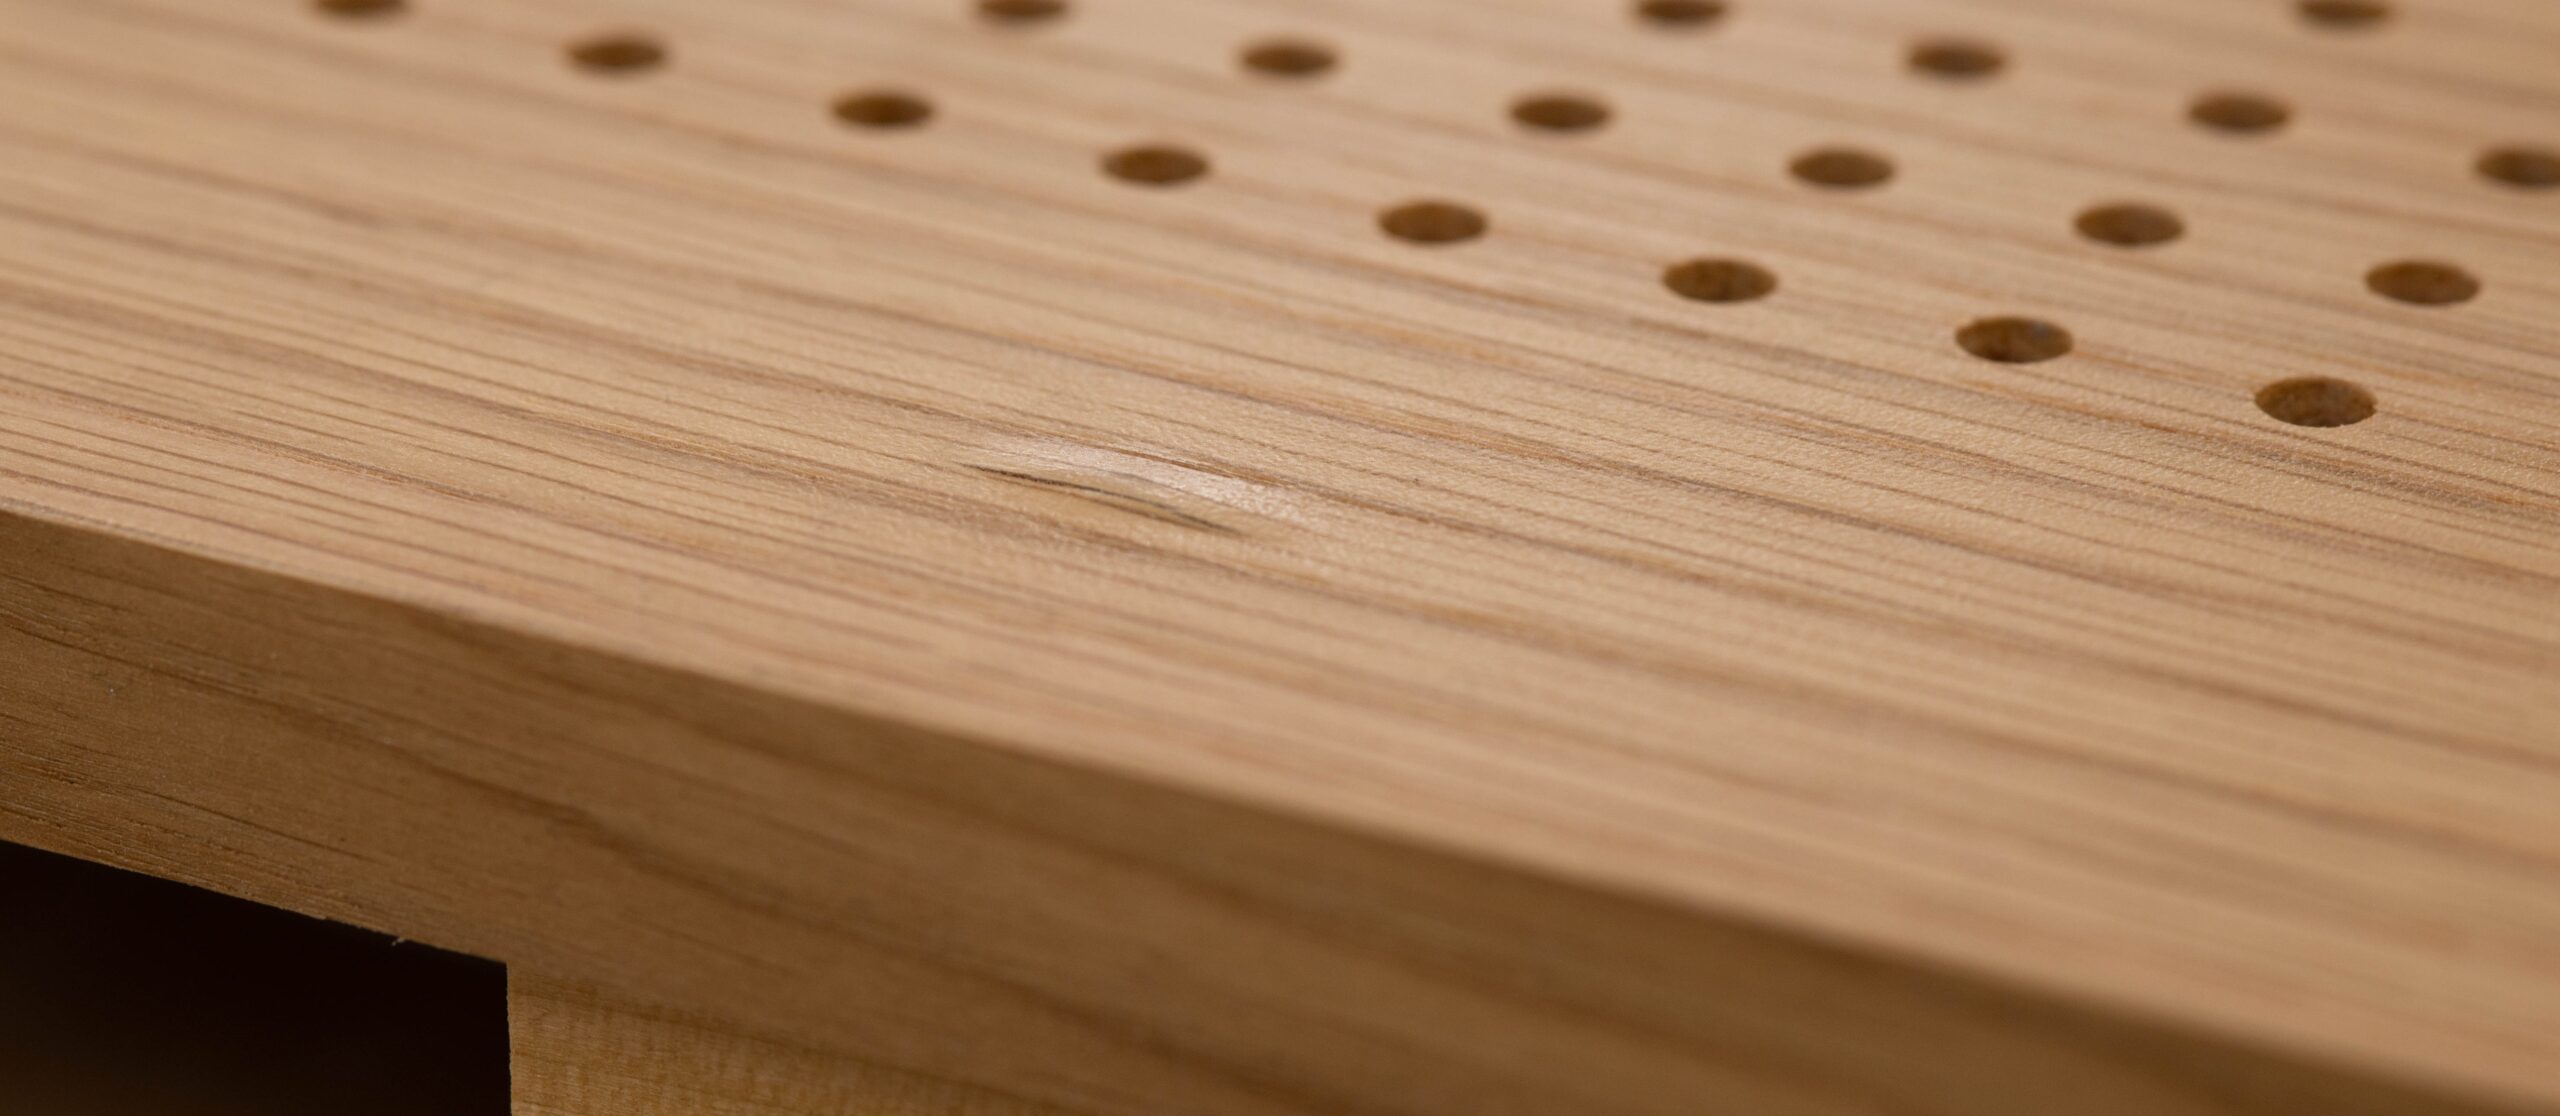
Wood Ceiling Repair – The Basics
Job sites can be tricky when it comes to finding a location to do your repair. If you’ve already installed part of the ceiling with a noticeable defect, we recommend taking it down to a proper work surface. In-place fixes are also possible, but you’ll want to provide supplementary lighting to ensure the repair is barely distinguishable under critical light.
The level of repair needed, if it is needed at all, is dictated by application, location, visibility (especially critical lighting), wood species and grain, natural or engineered wood, as well as color and finish. Structural damage and large manufacturing defects are beyond the scope of this article. These large repairs require skilled restoration or replacement of the entire wood member. Contact your manufacturer if you have any doubts about the scope of your wood ceiling repair.
Surface Damage: Scratches, Scuffs, and Minor Gouges
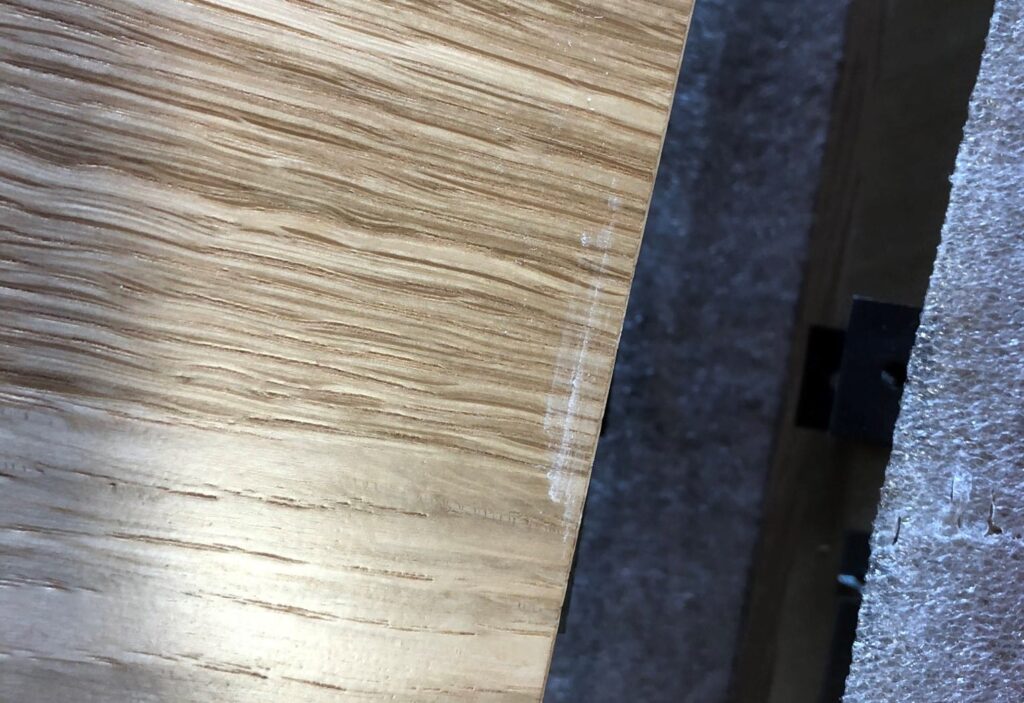
One of the most common defects we see in wood ceilings prior to installation is surface damage. This can occur during shipping or even handling the finished product at the job site. Although job sites do not always offer the safest environments when working with finished products such as wood ceiling panels, the best strategy we can recommend involves how you uncrate your material. When removing wood panels from the crate, it is critically important to stage the wood back-to-back and face-to-face.
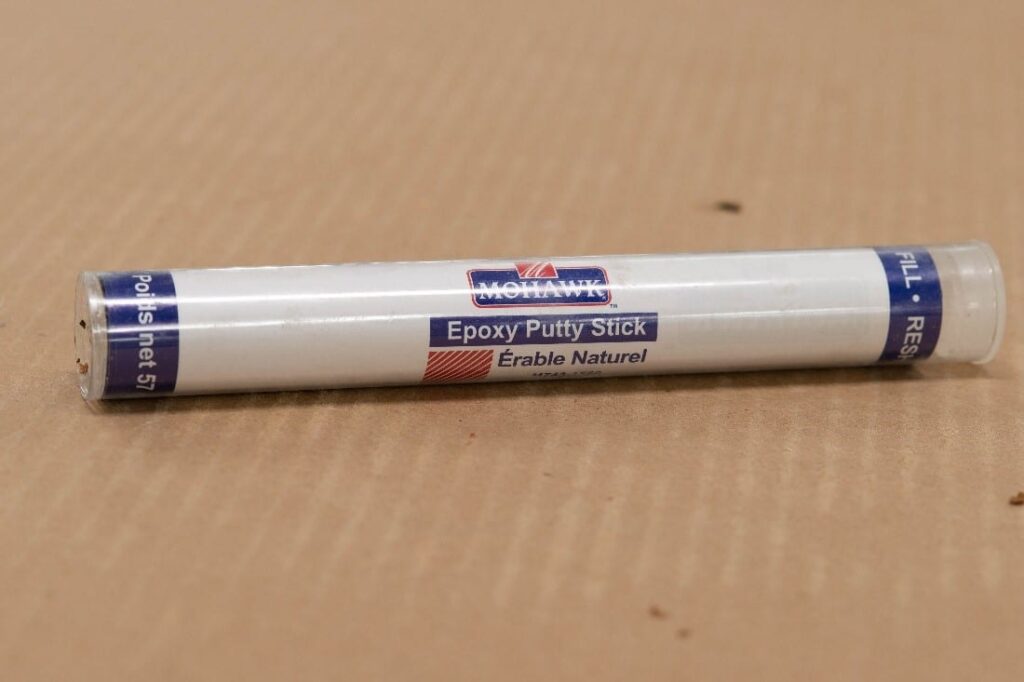
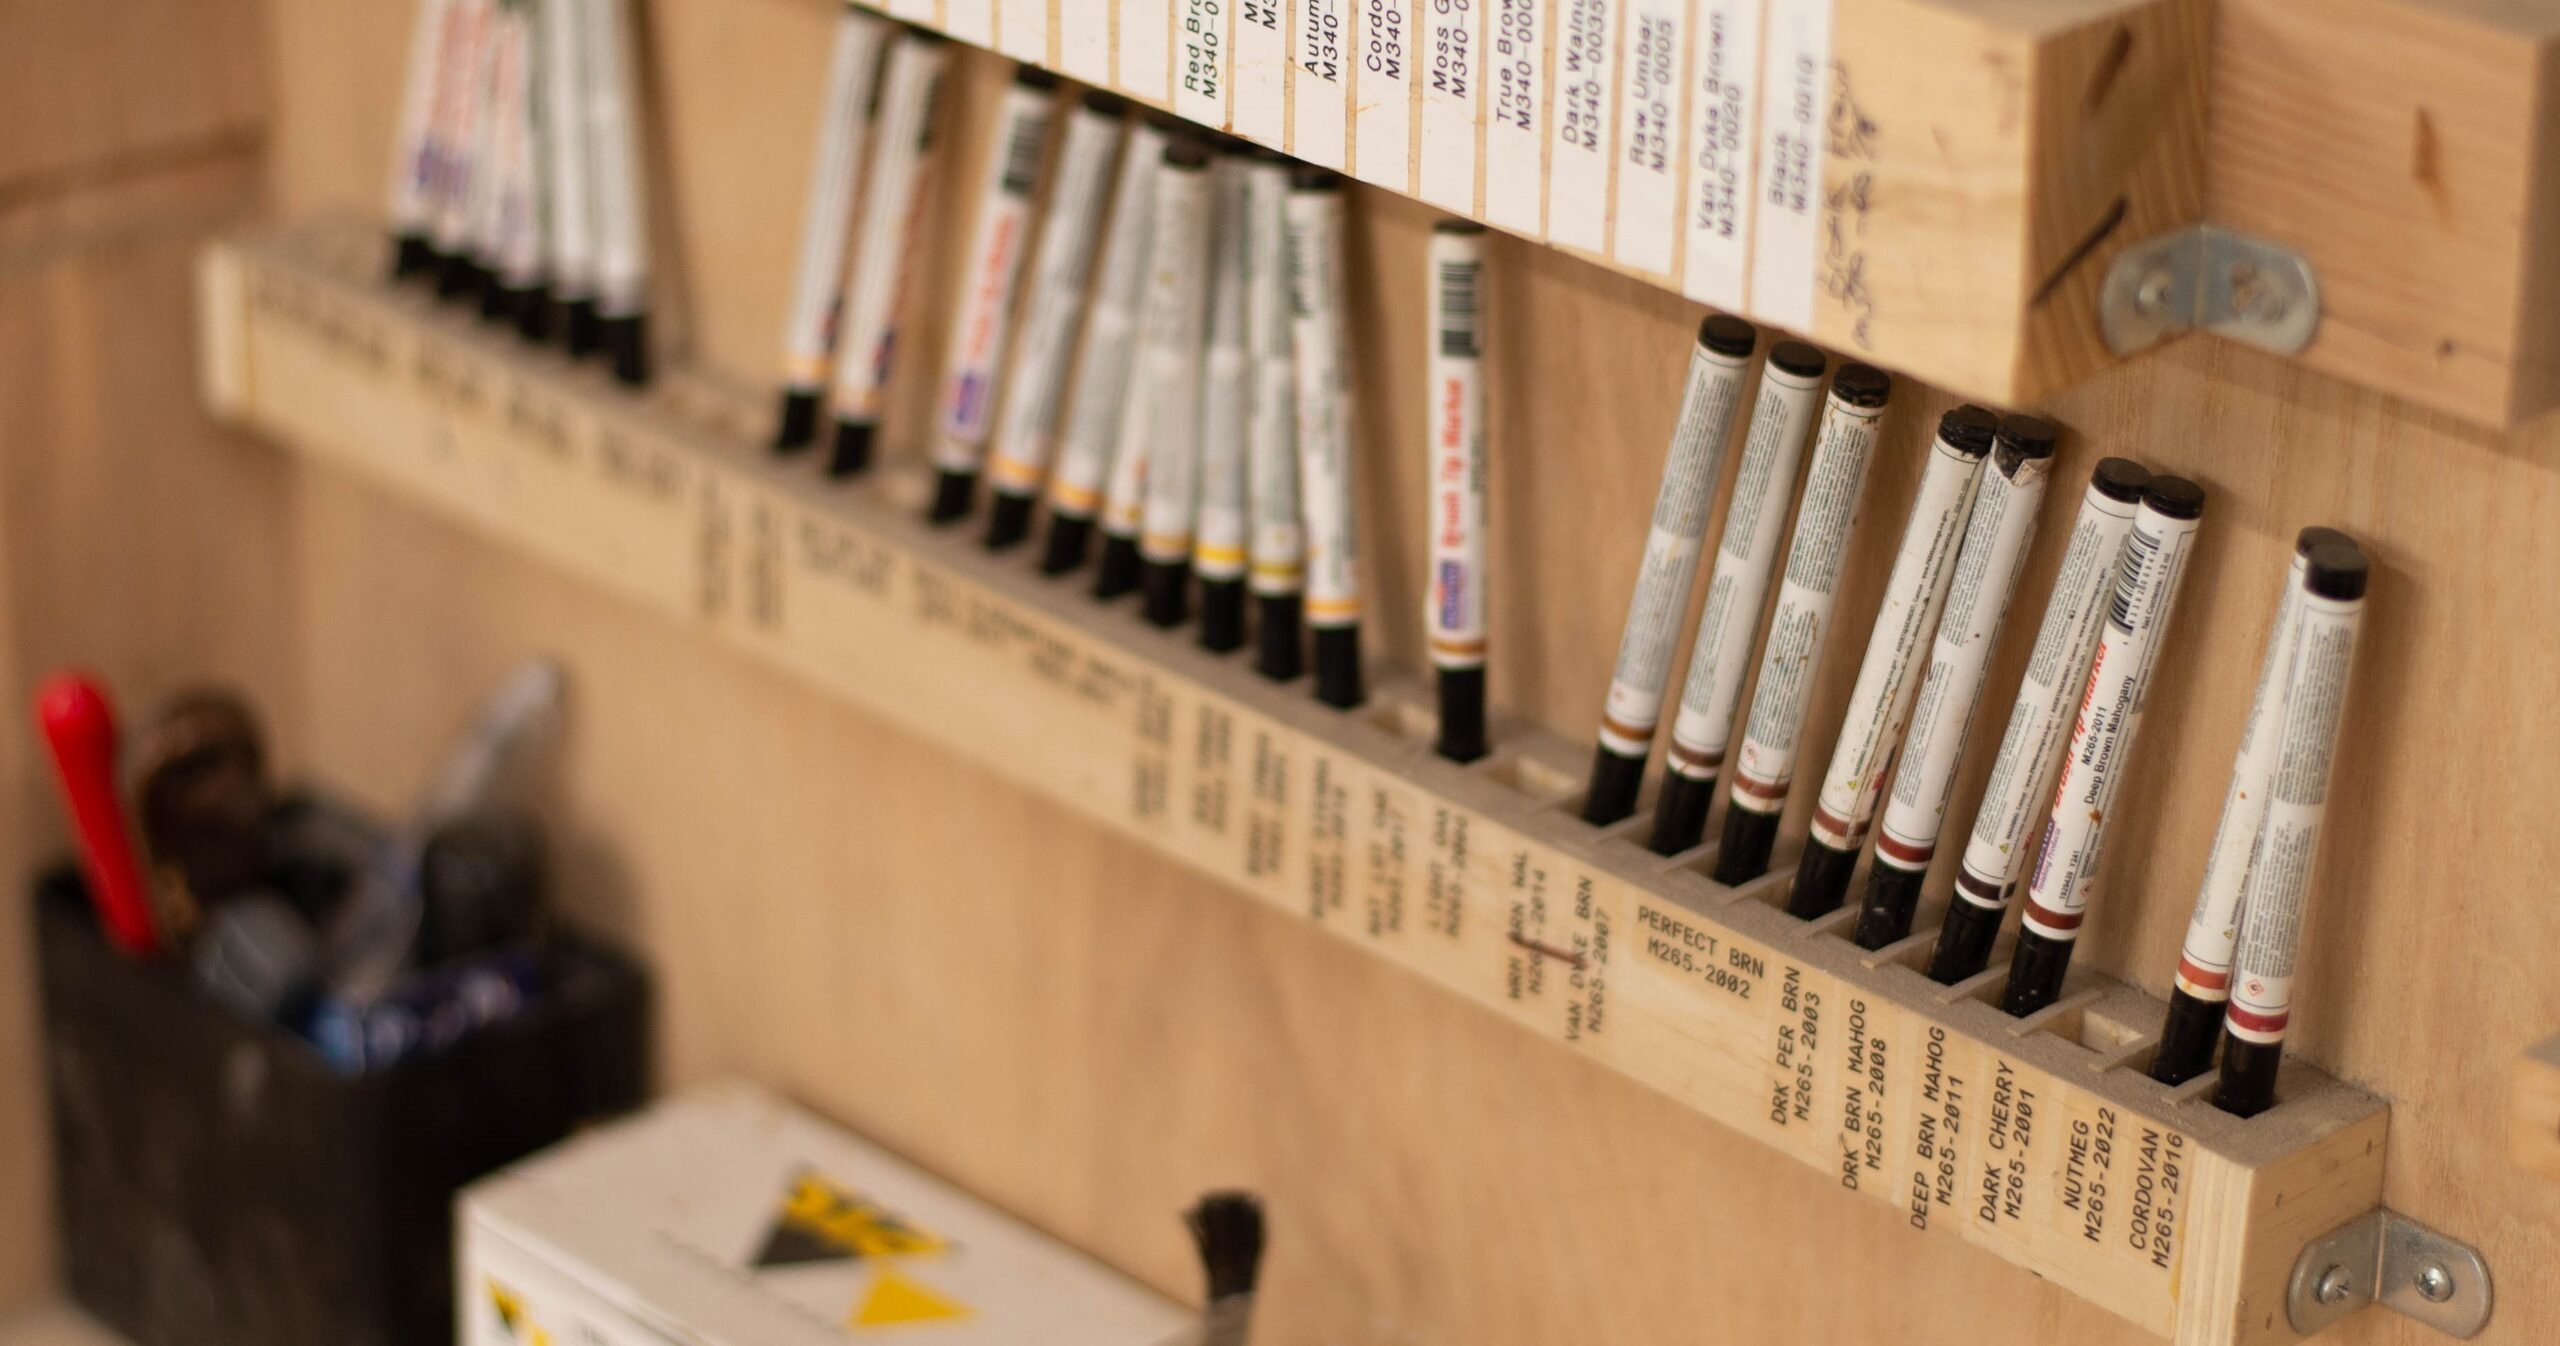
Surface damage often takes the form of scratches, dings, splits, holes, or gouges that are not more than 1/8” wide and 1” or so long. Damage this minor can be quickly filled in using a wax-based wood fill stick. Unlike water- or oil-based fillers, they won’t shrink as they dry or require sanding. Options are available from Mohawk, Guardsman, and Varathane and come in a variety of colors to match the wood. If you don’t find a perfect color match, go for the closest darker shade.
Tutorial Video: Repairing Minor Scratches and Scuffs
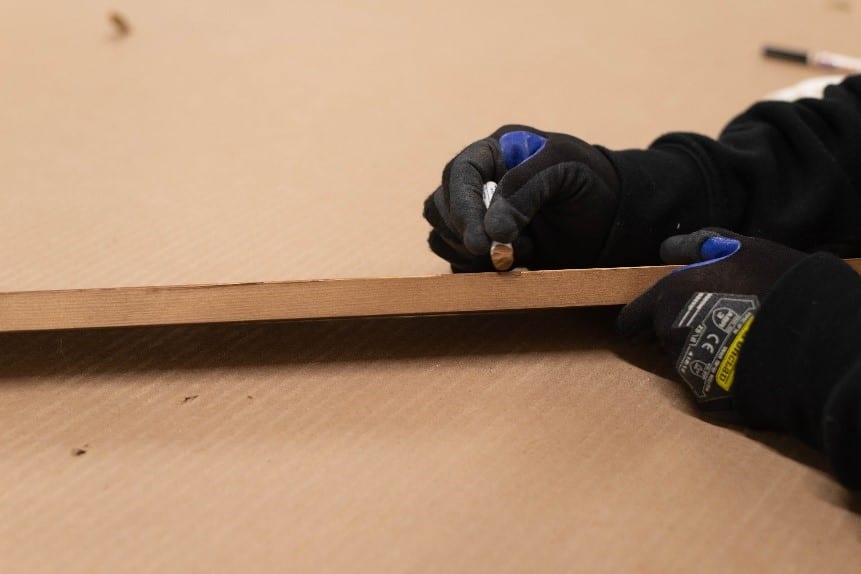
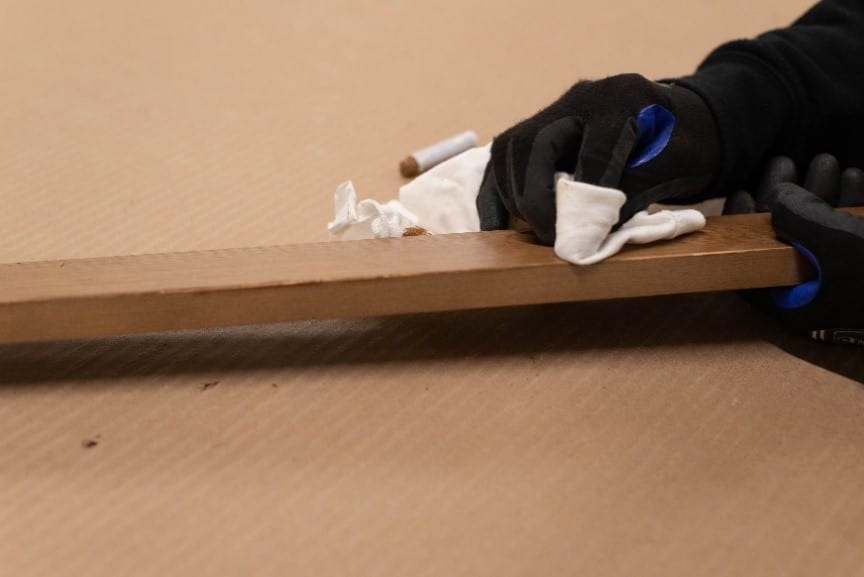
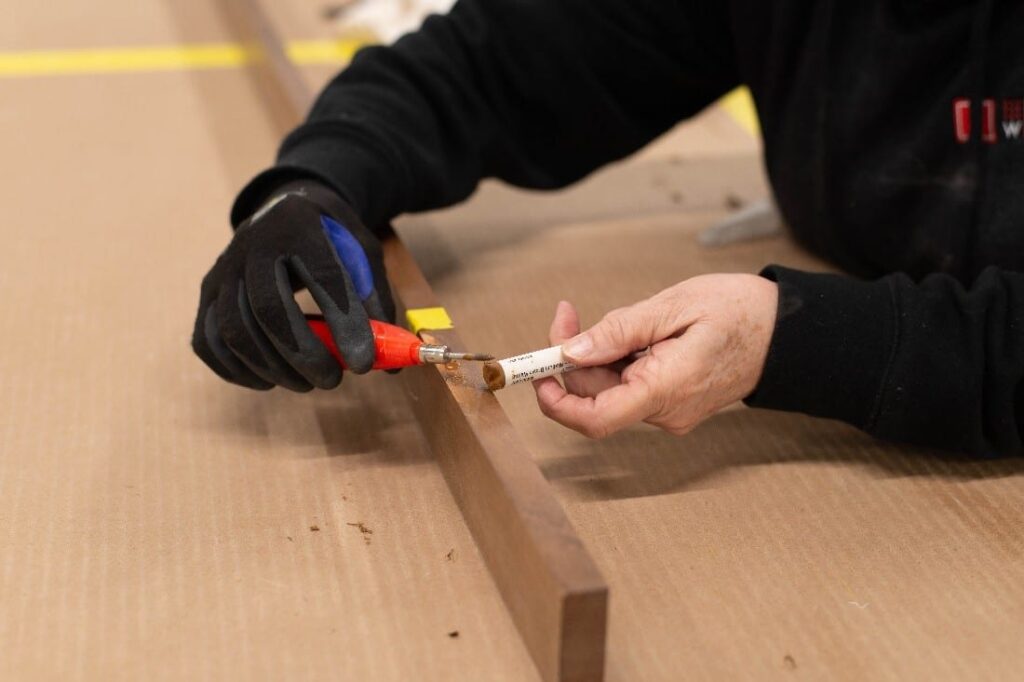
If you are filling in a scratch or long, narrow gouge, we recommend working the product in from the side to ensure the defect is sufficiently filled. Once filled in, remove the excess with a plastic, not metal, putty knife or stiff piece of plastic such as the edge of an old credit card. If the defect is longer than the width of the plastic tool, remove the excess along the length of the defect to avoid gouging it out. The fill can be further leveled using the flat of the knife or card to create a seamless fill. The remaining excess can be removed from around the defect with a cloth. Take care not to wipe the fill itself to prevent dishing it back out.
The fill can be concealed with color-blending tools and/or a graining pen. This usually isn’t necessary unless the color match isn’t sufficient, or the repair is on a surface noticeable at eye level. A protective clear coat can be lightly wiped or sprayed on. This step should be tested carefully as it may change the sheen appearance, causing an even bigger cosmetic problem. We’ll cover touching up the topcoat at the end of this article, since it is the last step.
Corner or Edge Damage
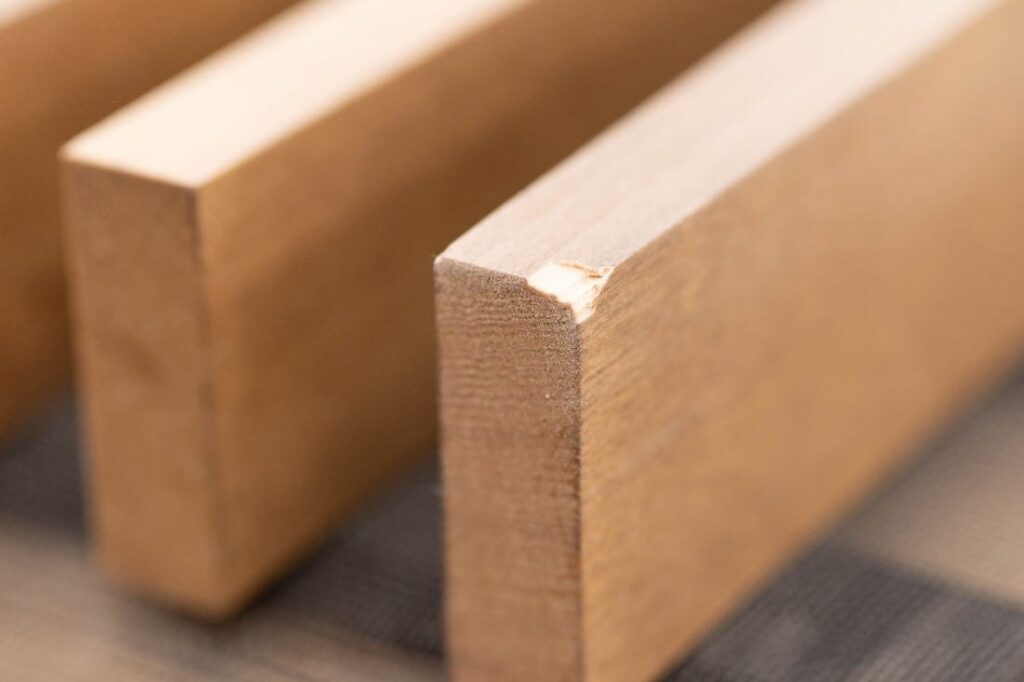
Corner or edge damage can be caused by any number of events. They consist of chip or tear-out, splits along the edge that separate completely, crushed corners from mishandling, missing knots, or rounded edges from sanding/rubbing. What they have in common is the profile of an otherwise sharp edge or corner that is interrupted, drawing the eye to the defect. Instead of simply filling in the defect, the edge or corner must sometimes be rebuilt.
Tutorial Video: Repairing Chip Out & Edge Damage
Very slight damage to an edge where only the finish and/or stain is affected is the easiest to fix. A color-matching tool and/or reapplication of finish is usually all that is needed here.
Chip and tear-out at the end of a board, especially if less than a quarter square inch or so, is the next easiest to fix. Often it can be effectively filled using a wax-based fill stick similar to how surface damage is corrected. Only a little more attention needs to be paid to removing the excess and leveling the fill from the end as well as the surface to match the edge.
More significant edge damage, especially along the grain or damaged corners, requires a wood filler or epoxy. The surface must also be prepped by removing excess or loose material and sanding any finish or other contaminants away to provide a good bonding surface. If the damage is small, a water- or solvent-based wood filler can be used to rebuild the missing edge/corner. Water-based fillers dry quickly and are generally more versatile but are not recommended for exterior applications. If your wood ceiling repair needs protection from the elements, we recommend a solvent-based filler. Once dry, both will have to be sanded down flush with the edge/corner and surrounding wood, color matched, and a protective clear coat applied.
Wood epoxy is ideal for larger wood ceiling damage, especially crushed corners. Epoxy requires more prep, as it needs a strong foundation to adhere to. Start by removing all traces of the existing finish. If the surface is too smooth, you may need to rough up the raw surface with a low 50-80 grit sanding block to allow a solid bond between the epoxy and the wood.
With the surface prepped, apply the epoxy to the edge or corner and shape it to approximate the missing material. Be sure to add a little excess. Once the epoxy is cured, i.e., fully hardened, use a sanding block and 120-150 grit paper to sand it down to match the wood profile. It can then be color matched to the surrounding wood/stain and coated with a proper topcoat.
Color Matching for Wood Ceiling Repair
When needing to conceal a wood ceiling repair, there are a wide variety of tools available, each for a different application and desired outcome. Picking the right color or, more appropriately, the right combination of colors is critical to blending the repair into the surrounding wood. We recommend getting a variety of 2 to 4 colors, testing each one on a hidden part of the wood member, and picking the one that matches the closest. Here are three of the most common color-matching tools we use in our shop as well as some recommendations on how to use them:
First: Stain pens and markers are for hiding scratches and scuffs in stained wood. These work best on dark stains such as walnut or mahogany. The edges of stained wood are the most subject to this type of damage. Stain pens can be used to correct defects in lighter stains, but even if you have the right color match, the stain often needs to have any excess wiped away immediately after application to match the shade. Some markers have a finish in their formula, negating the need for a protective coat application afterward.
Second: Paint Pens. Opaque and solid finishes require a paint pen of a matching color. Make sure to use a solvent-based pen appropriate to the finish on the product. It is worth noting: Don’t use a Sharpie or other permanent markers. They do not have a protective finish and the hue will degrade over time!
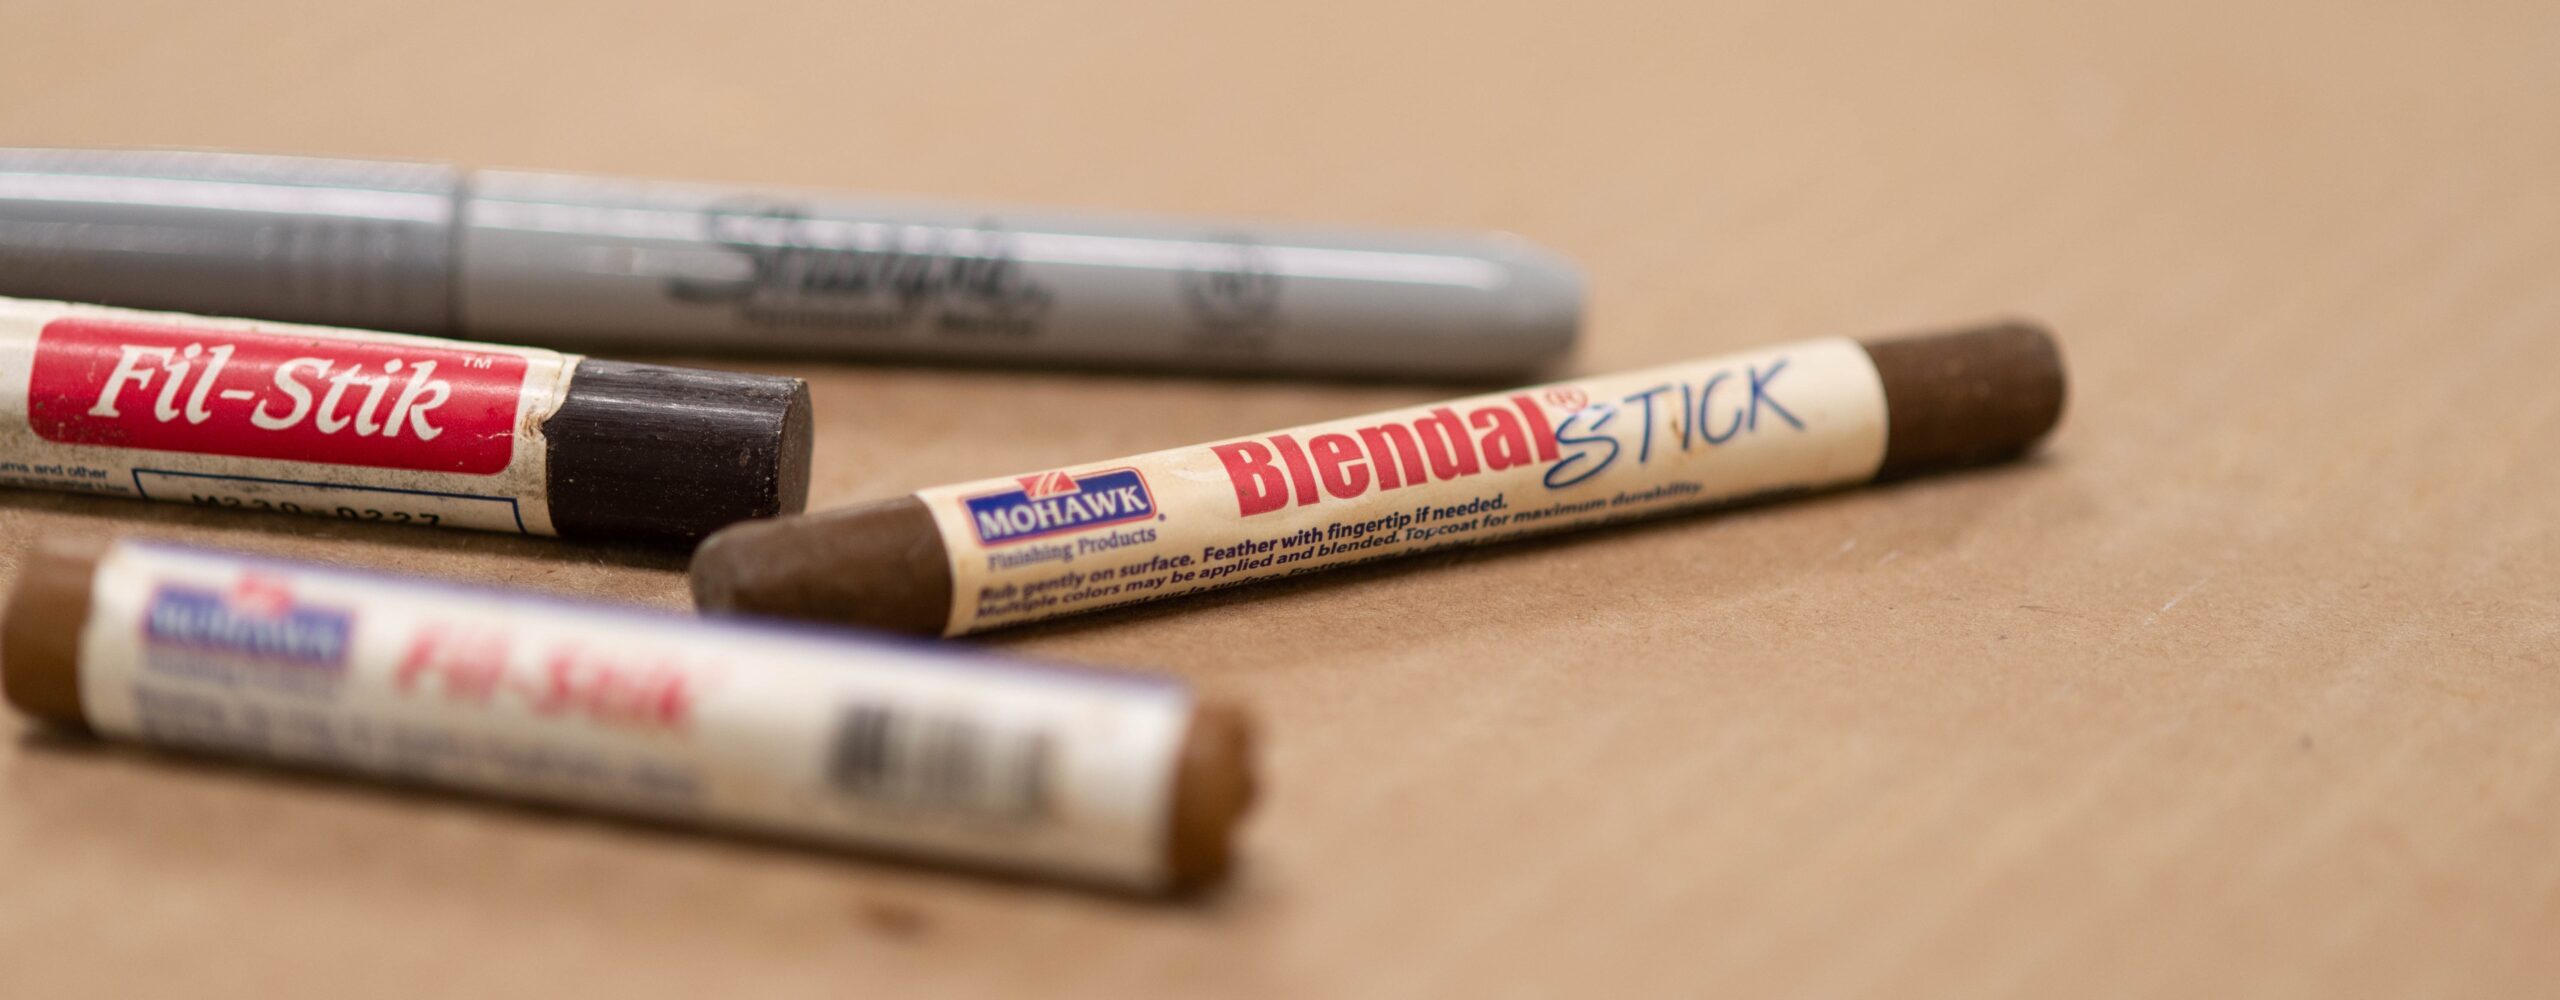
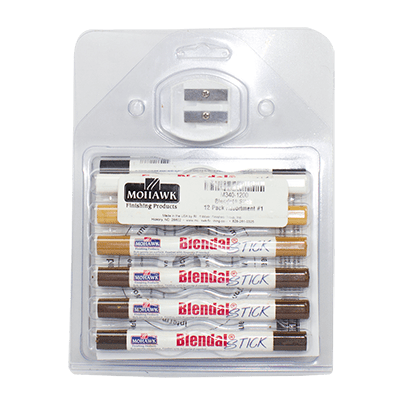
Third: Touch-up crayons, such as Mohawk Blendal or DAP blend sticks, are quite versatile but require a protective finish afterwards. They can be used to fill small holes and scratches, cover blemishes, and hide fill repairs. In addition, you can easily blend the colors to accomplish a color match. We recommend layering slightly different colors to match the wood color and recreate the depth of the grain. When layering, you’ll want to start with the lighter color and gradually add the darker colors. Apply the color and then blend into the surrounding grain with your finger. Lock it in with a sealer or light application of finish. Apply the next layer in the same fashion, locking it in with a sealer. Lastly, you can recreate the grain by striking in lines with the dark color stick and gently blending into the surrounding wood with your finger. A final topcoat locks in the color and matches the surrounding sheen.
Sheen Matching and Refinishing the Repair
Some wood ceiling repairs require the reapplication of finish. This is particularly important on primary faces, in critical lighting situations, and on wood ceilings in high-visibility situations. We cannot stress this enough: Any time raw wood is exposed (such as after making field cuts or sanding), the exposed surface needs to be coated with a protective finish. At our factory, we typically use a satin sheen, water-based lacquer, or solvent-based polyurethane for exterior wood ceilings. All of our finishes are applied with an oscillating spraying machine for a full six-sided finish.
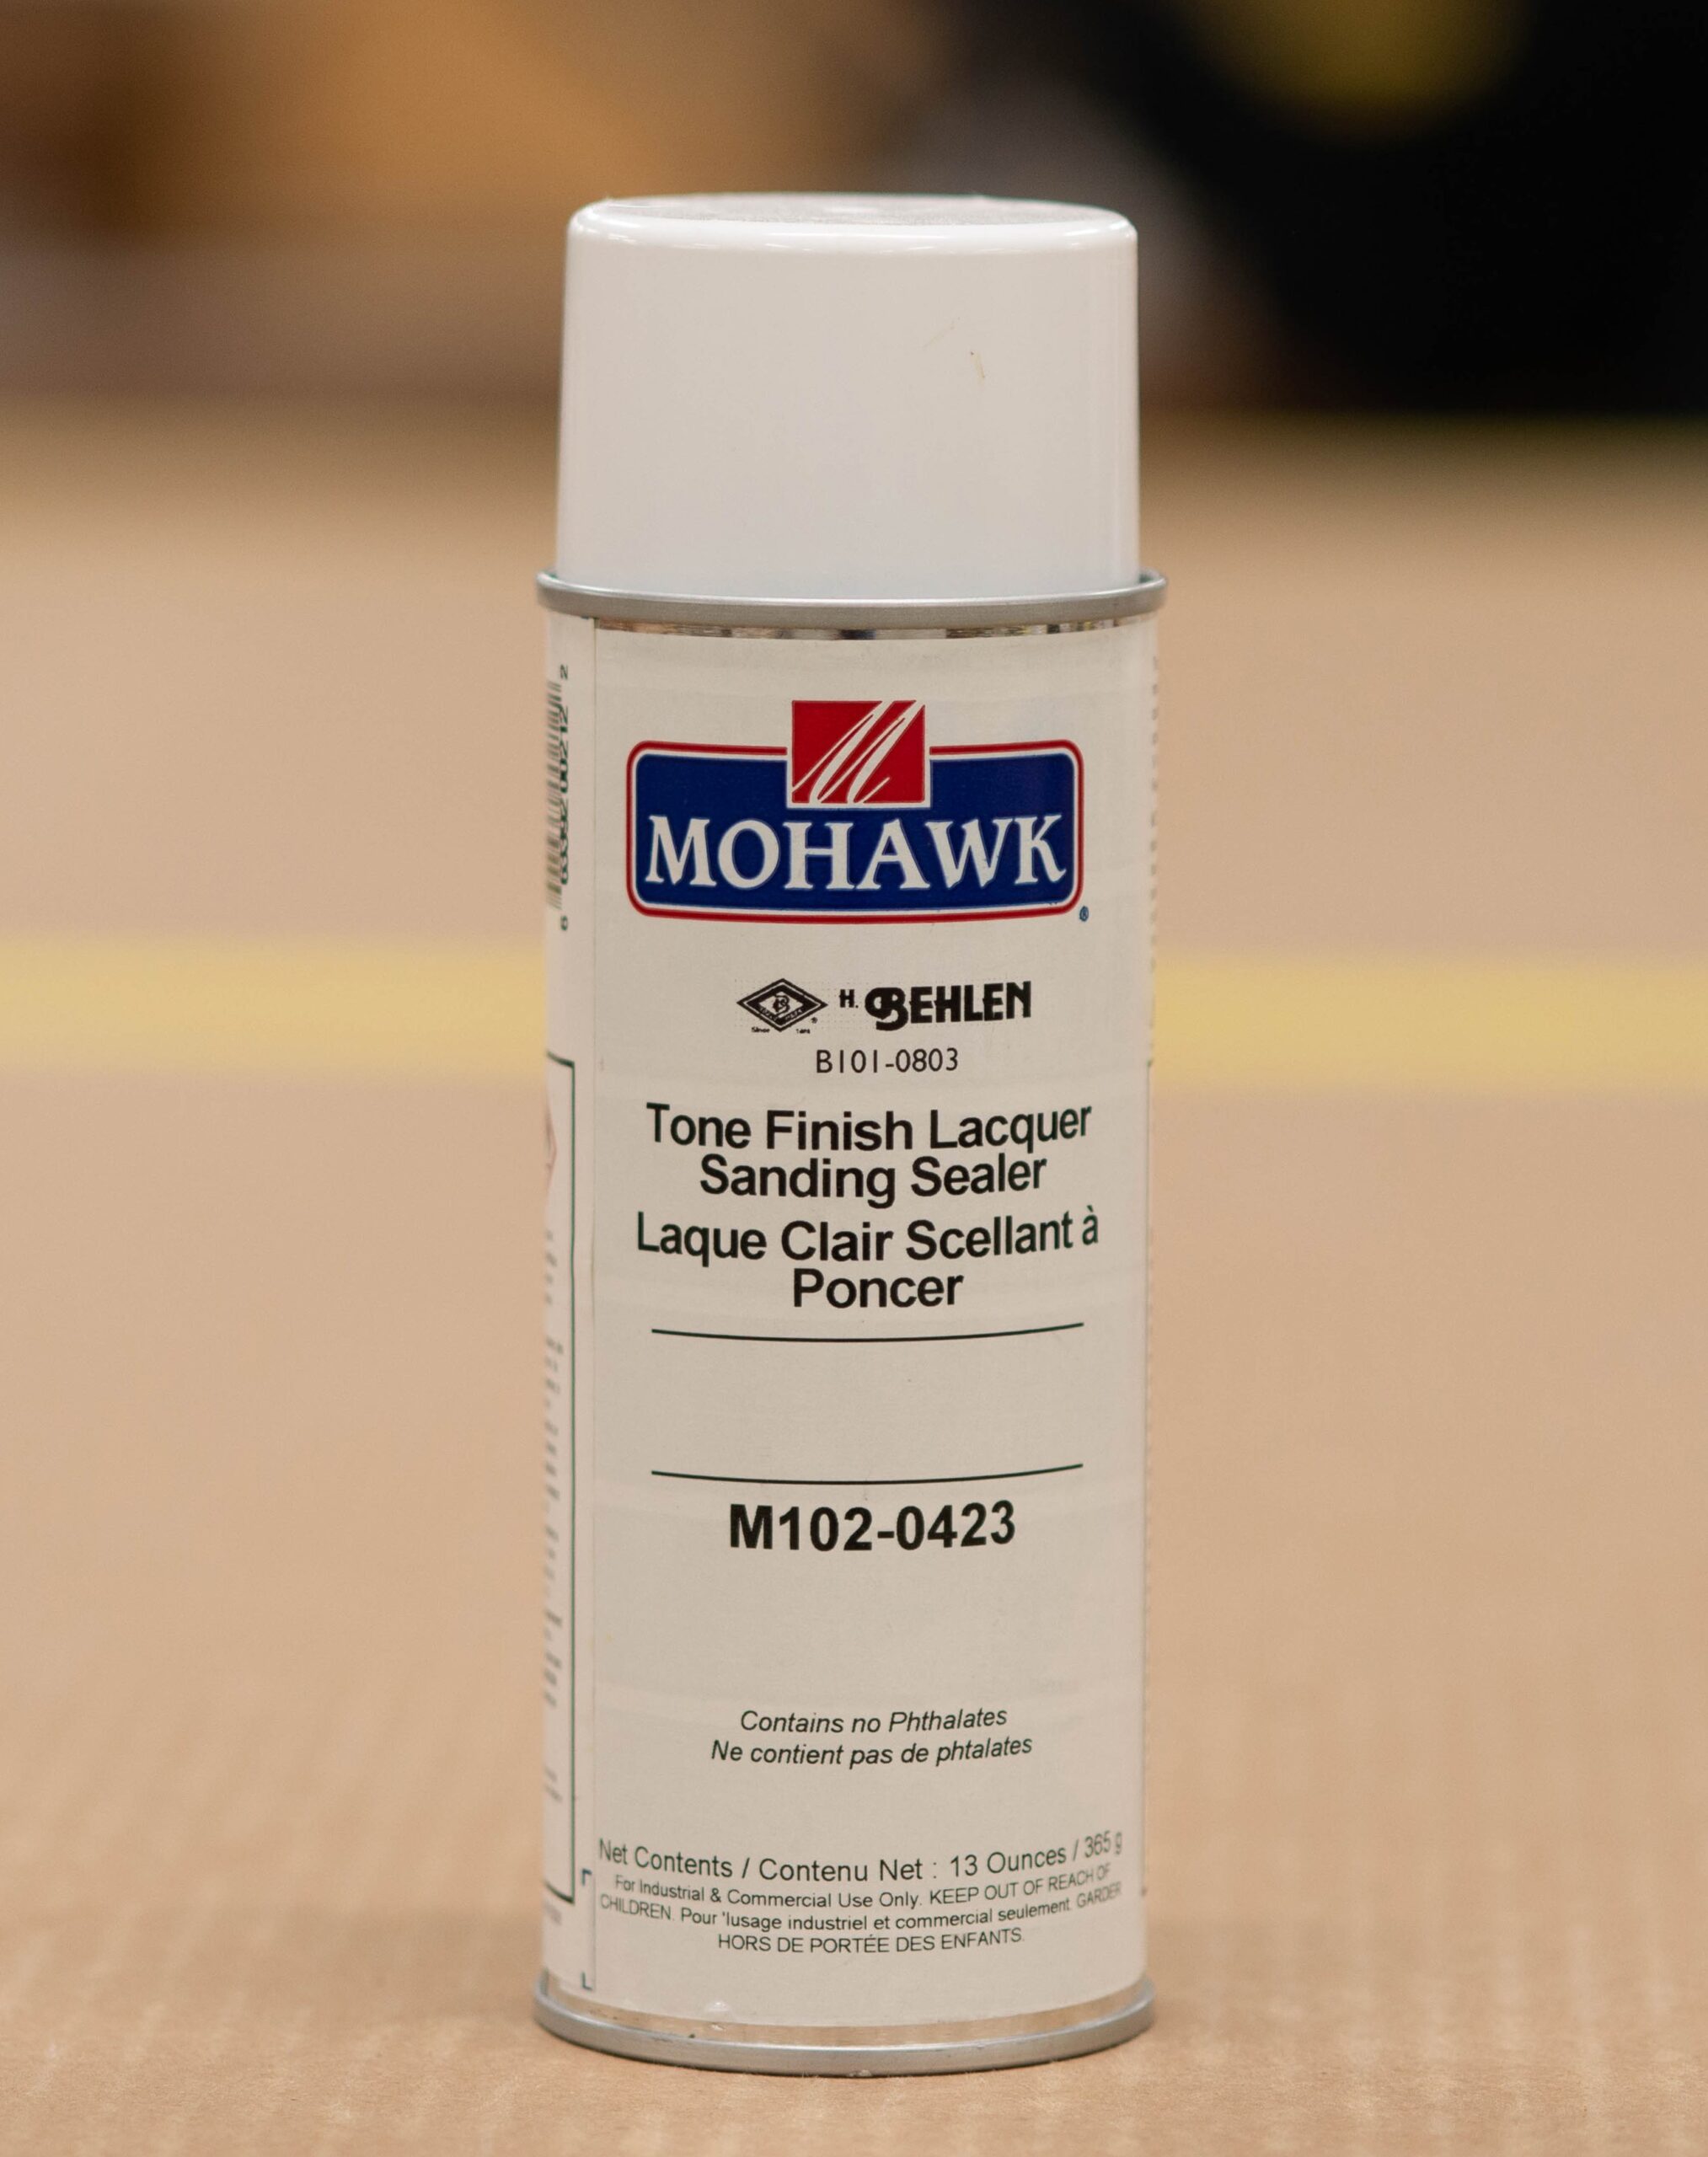
For basic sealing and protection, wiping on a small amount of 9Wood-supplied touch-up finish on the target area and allowing it to dry is sufficient. For surfaces with high visibility, particularly those that will reflect a lot of light, a repair will often disrupt the surface sheen, drawing the eye to the defect. These areas require special attention, and finish should be applied as an aerosolized spray. Apply with a brisk, sweeping motion from about 4 to 6 inches away, feathering in the finish at the edges.
You’ll want to coat the dull area with the overspray blending into the surrounding finish. Applying too little finish will not seal the material sufficiently and will create a dull sheen. Applying the spray too close or too heavily will create too bright a sheen, a hard outline, and may cause drips or runs if too extreme. It is best to err on the side of caution by applying a light coat, waiting for it to dry, and then reapplying if necessary until the sheen difference is practically indistinguishable.
Sheen is measured on a scale of gloss units, but without sophisticated instrumentation and spray equipment capable of applying a specific thickness, the human eye is remarkably sensitive to changes in sheen levels. The trick is to look across the surface at a sharp angle while some amount of light is reflecting off of it. The sheen of the finish (flat, matte, satin, semi-gloss, and gloss), smoothness of the surface, and coating “draw down” sample all play a role in the final sheen. When finishing wood ceiling repairs, matching the sheen is as important as matching the color.
Conclusions on Wood Ceiling Repair
While we have covered the common types of minor defects and their repair, we want to leave the door open to any further questions you may have. We are not the only wood ceiling manufacturer out there. However, we are quite invested in sharing our knowledge with anyone who installs products like ours. Wood ceiling repair is a necessary skill for any subcontractor who installs suspended wood ceilings, and it is our goal to help them achieve quality installation. Please don’t hesitate to reach out!
No Fields Found.