
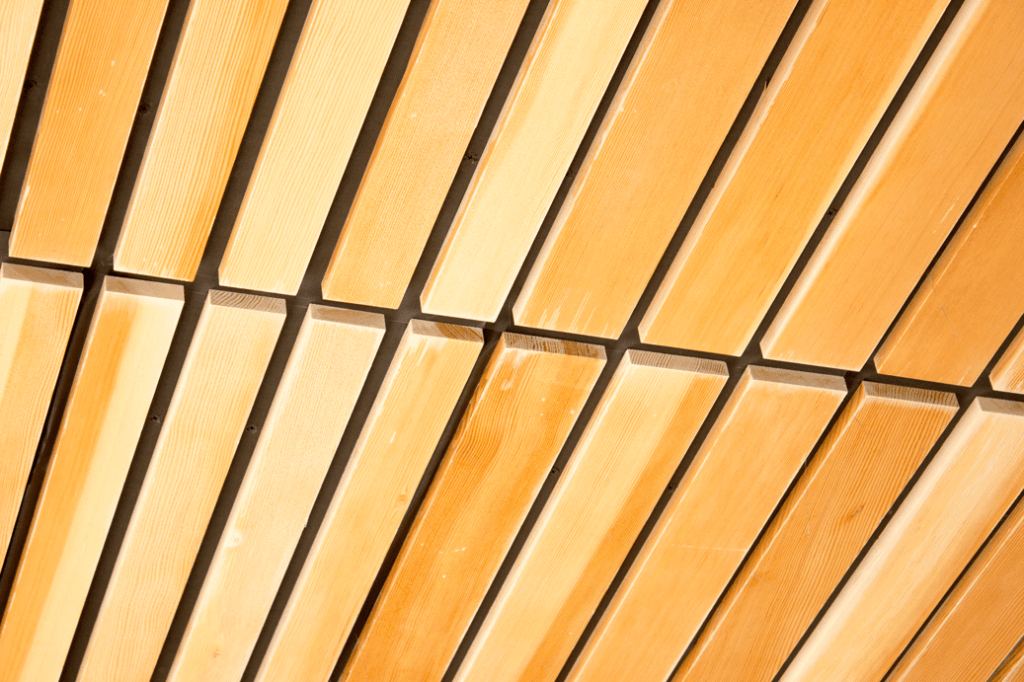
Have you ever wondered how a simple hair dryer can help you while installing wood ceilings at a jobsite? Exterior wood ceilings need protection. The best way to provide that protection is to ensure all wood surfaces are properly sealed from the elements. Without the proper field treatment, exterior wood ceilings can quickly succumb to moisture, warping, and ultimately product failure.
We have found a hair dryer to be the most practical tool for our customers touching up exterior wood ceilings during installation. Today, we’re going to show you a simple process for how you can protect the ends of field-cut wood members in exterior conditions.
Getting Started With Exterior Touch-Up
Assuming you already have the exterior wood ceiling product, you are going to need:
- Stain (if applicable)
- Topcoat Finish (we use clear lacquer)
- Foam Brushes
- Clean Rags
- Hair Dryer or Heat Gun
If you’re receiving a crate of factory-finished material from 9Wood, we will include canisters of finish that correspond to the application of your material (e.g., clear, stain, interior, or exterior). All exterior wood ceiling jobs will have a can of clear topcoat. If the wood is stained, a canister of the original stain will be included as well.
Check Out: How Do Our Wood Stains Compare to Our Competitors?
The Application Process
Let’s start with the basics. All field-cut wood members require a recoating of topcoat finish. Gaps in the finish created by field cutting allow moisture to create a microfoam below the finish and cause blushing.
After field cutting the panels, make sure to clean them off and set them up for finishing in a location away from dust as much as possible.
Step #1: Apply the Stain
If your project doesn’t have a stain, you can skip right to step 2.
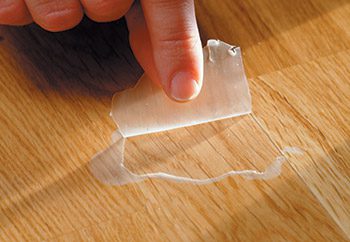
Starting with a fresh foam brush, apply the provided the stain to the field-cut ends or raw wood ends. Give adequate covering to each field-cut end while avoiding dripping or excess stain going onto finished sides of members.
Wipe off any excess stain with a clean rag. Only one coat of stain is necessary.
Wait 15 minutes for proper absorption and drying before applying clear lacquer. You do not need to use the hair dryer to dry the stain.

Step #2: Apply the Top Coat
After your stain is dry, or if your exterior wood ceiling product only has a clear coat, you will want to take a new foam brush and apply a single heavy coat to the material. It’s important that you use a new foam brush!
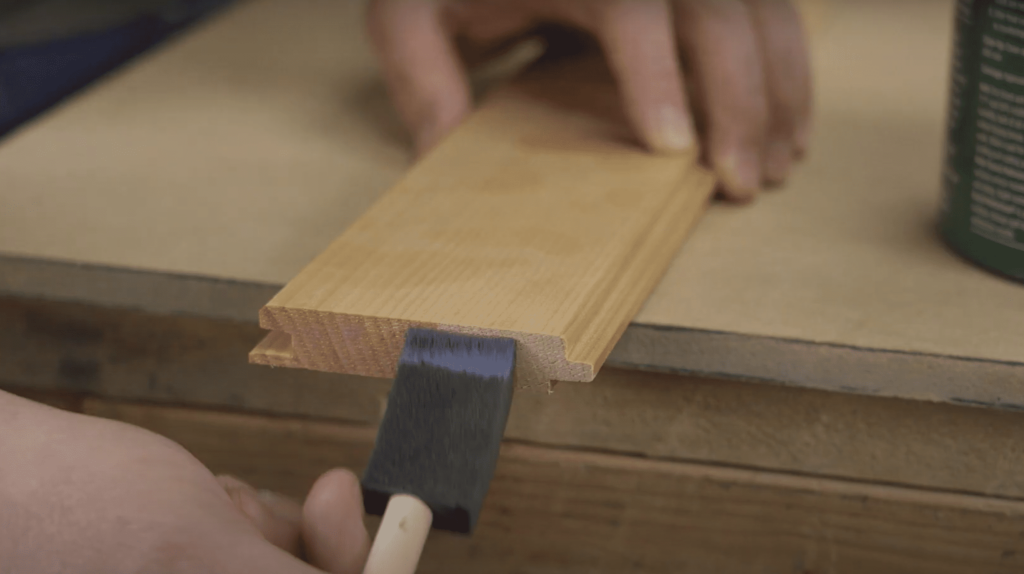
Just as we did with the stain, wipe off any excess with a clean rag.

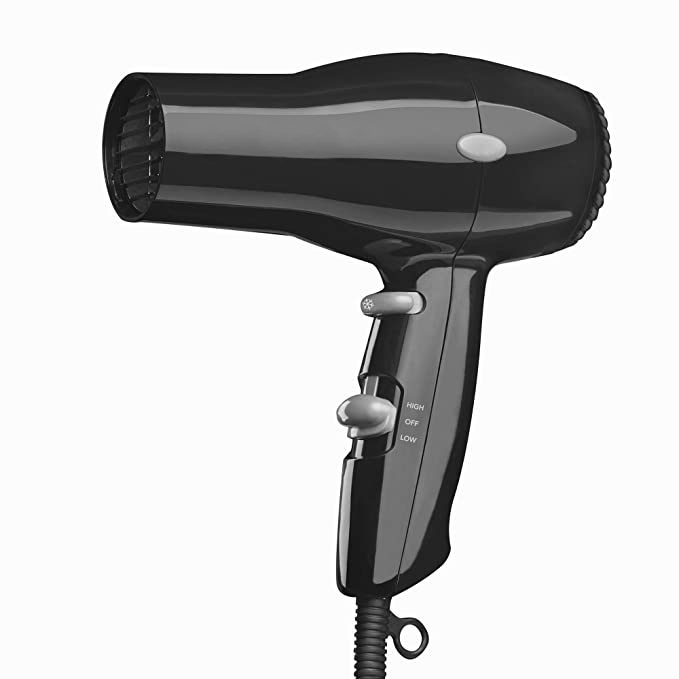
Step #3: Use the Hair Dryer
Once the topcoat has been applied, it is important to get it dry with a heat source. If you need to install the product right away, letting it dry on its own is not recommend. Using the hair dryer to dry the finish is much more likely to fully protect the exterior wood ceiling ends. Here’s how:
Hold the dryer about 6 inches away for 2 minutes to ensure the finish is completely dry. We include a standard hair dryer in every exterior wood ceiling we ship. If you’re using a heat gun, keep it at a lower setting to ensure you don’t scorch the wood.
Once this coat is dry, your touched-up panels are ready to handle and install.
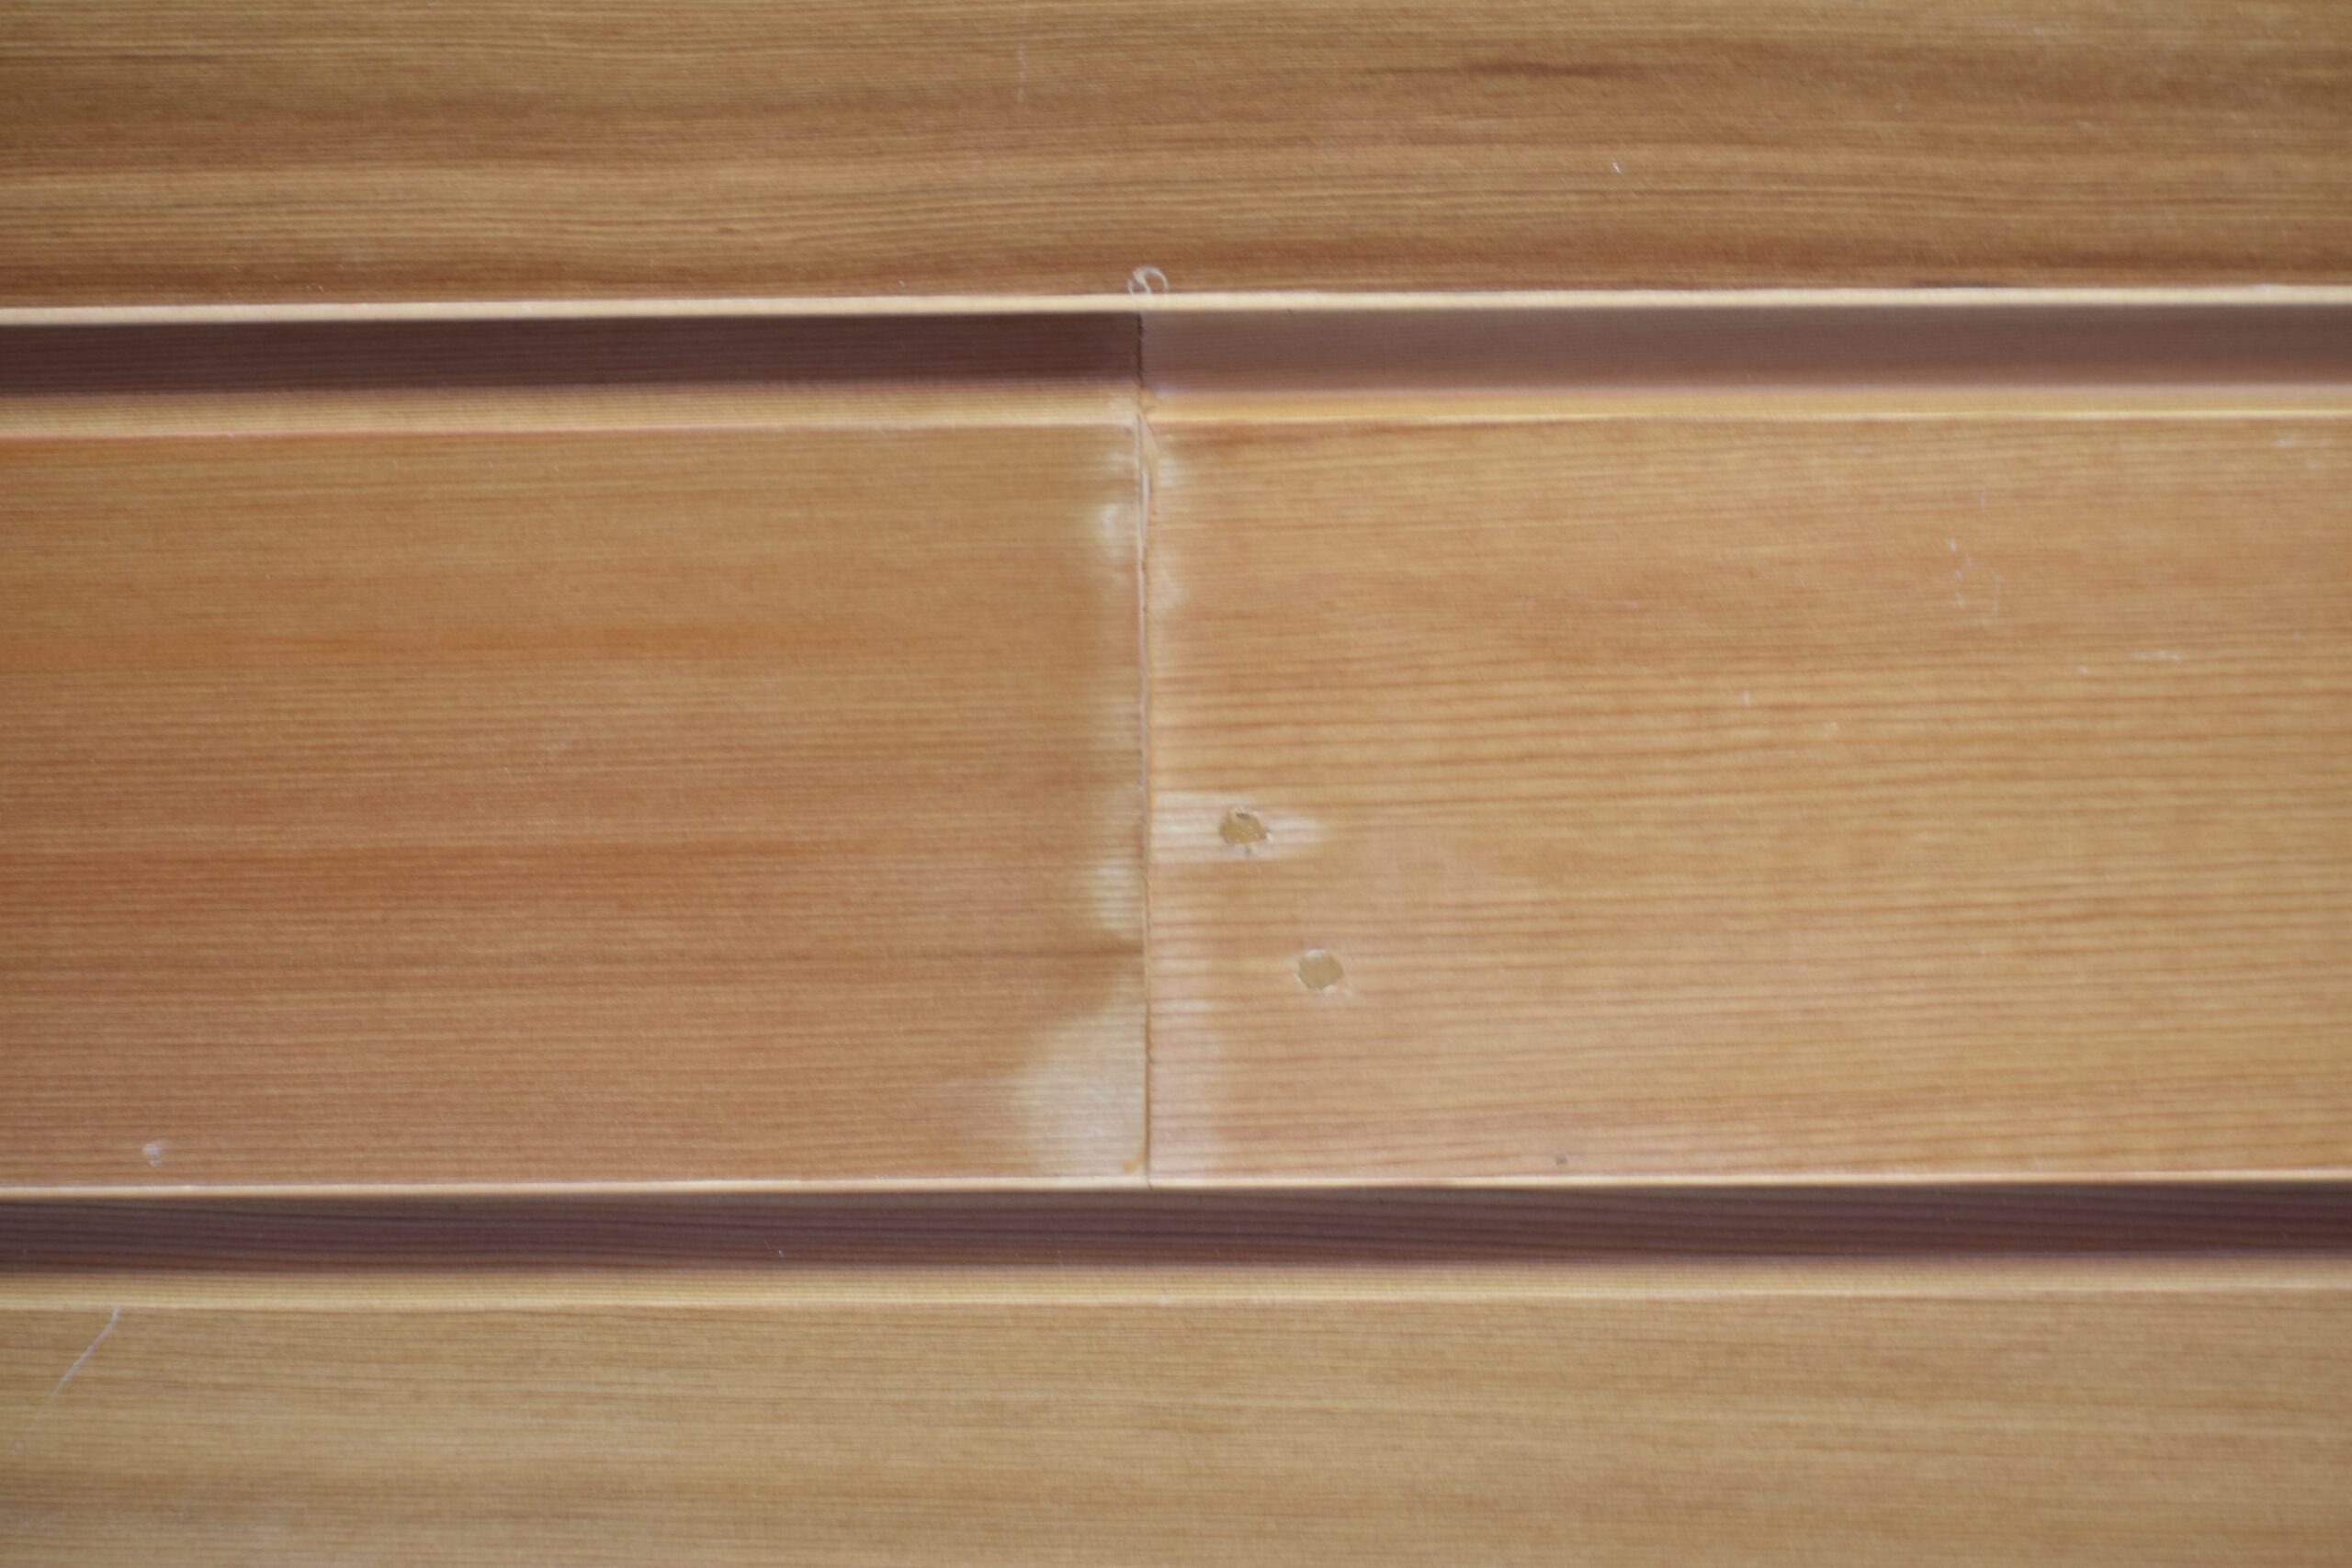
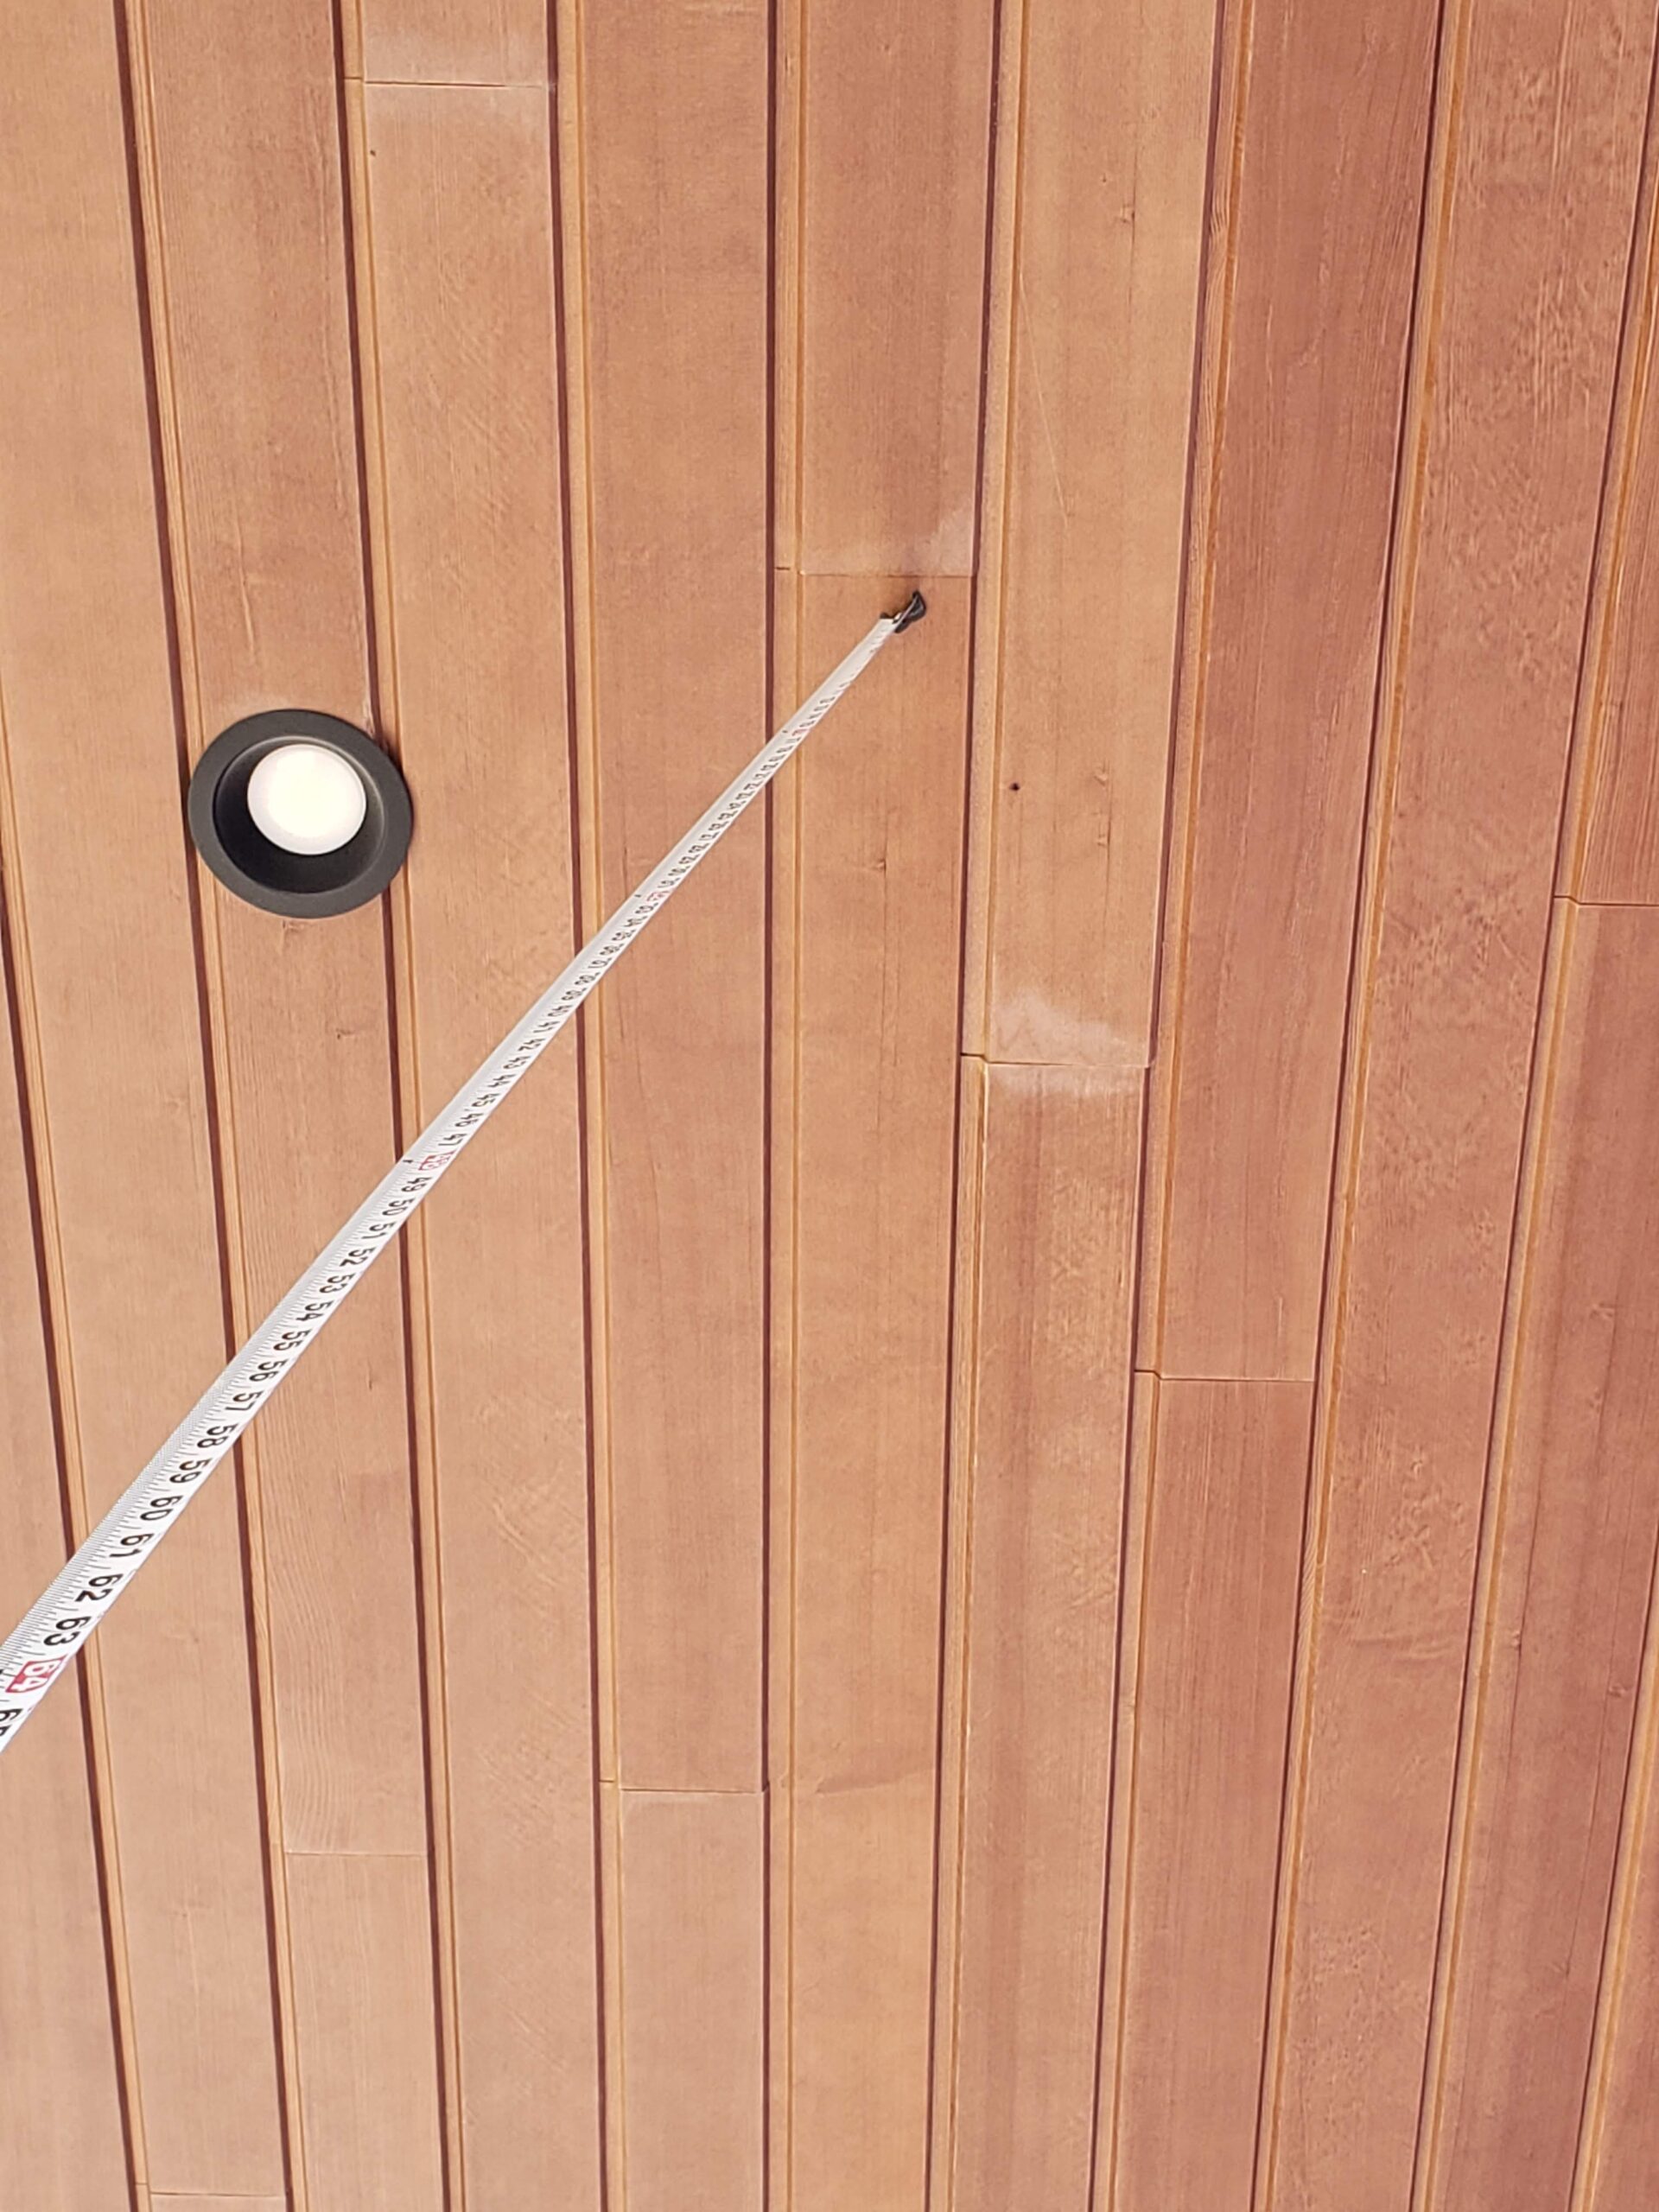
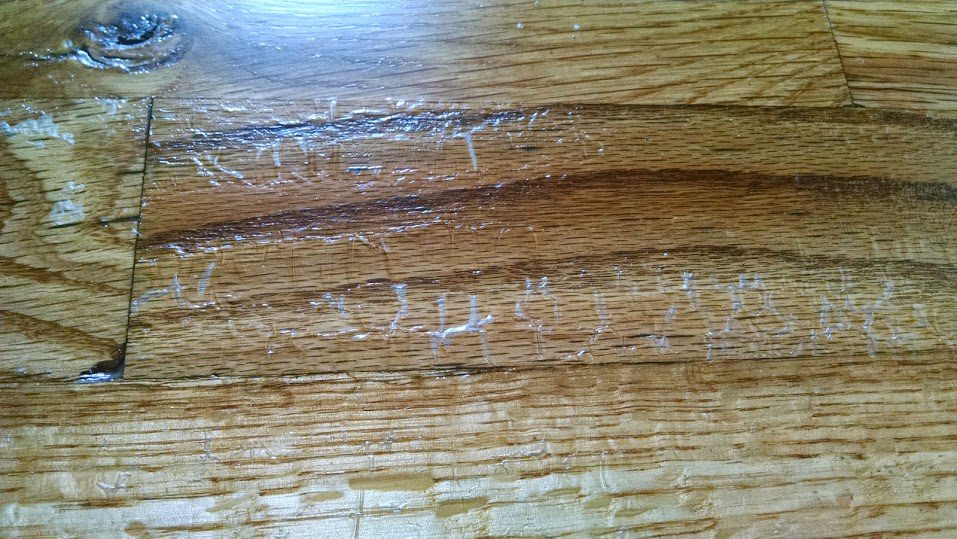
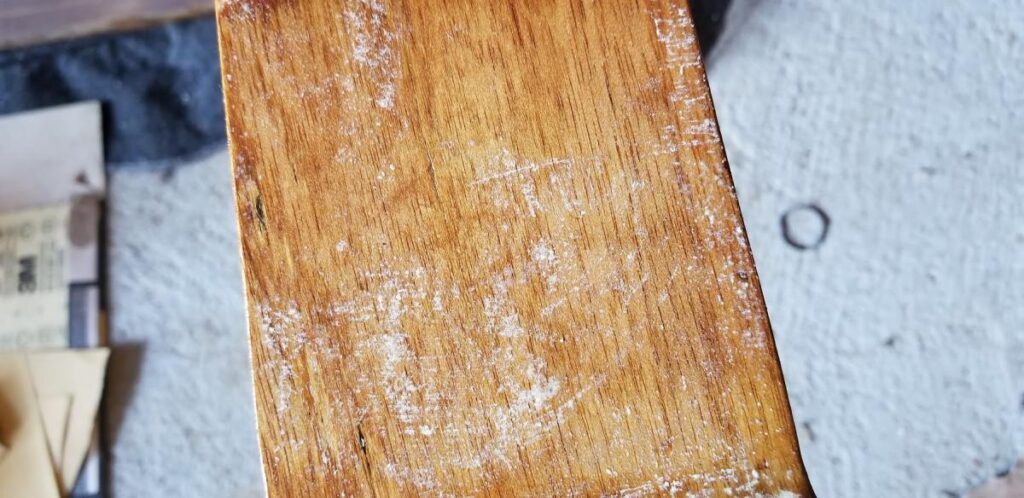
Touch-Up Failure Examples
The factory finish provides a critical amount of protection for the wood ceiling members. Below are a few examples of finish failure due to improper finish coverage. These demonstrate how important it is to properly touch up all field cuts and avoid costly and time-consuming finish issues.
The Bottom Line
Here is what we tell our customers: Severe damage can result from not adhering to the above steps. It is as a simple as that. We want to help our customers get the most out of our product. We design our product to account for the natural properties of wood and the carefully planned-out environment in which the exterior wood ceiling is being installed. Exterior environments are a challenge for many materials, and we hope to ensure that wood ceilings have their place.
If your project needs more than just touch-up, let us know how we can help!


 Don’t forget the crackers! We use cookies to offer you a better site experience and to analyze site traffic. Read about how we use cookies in our