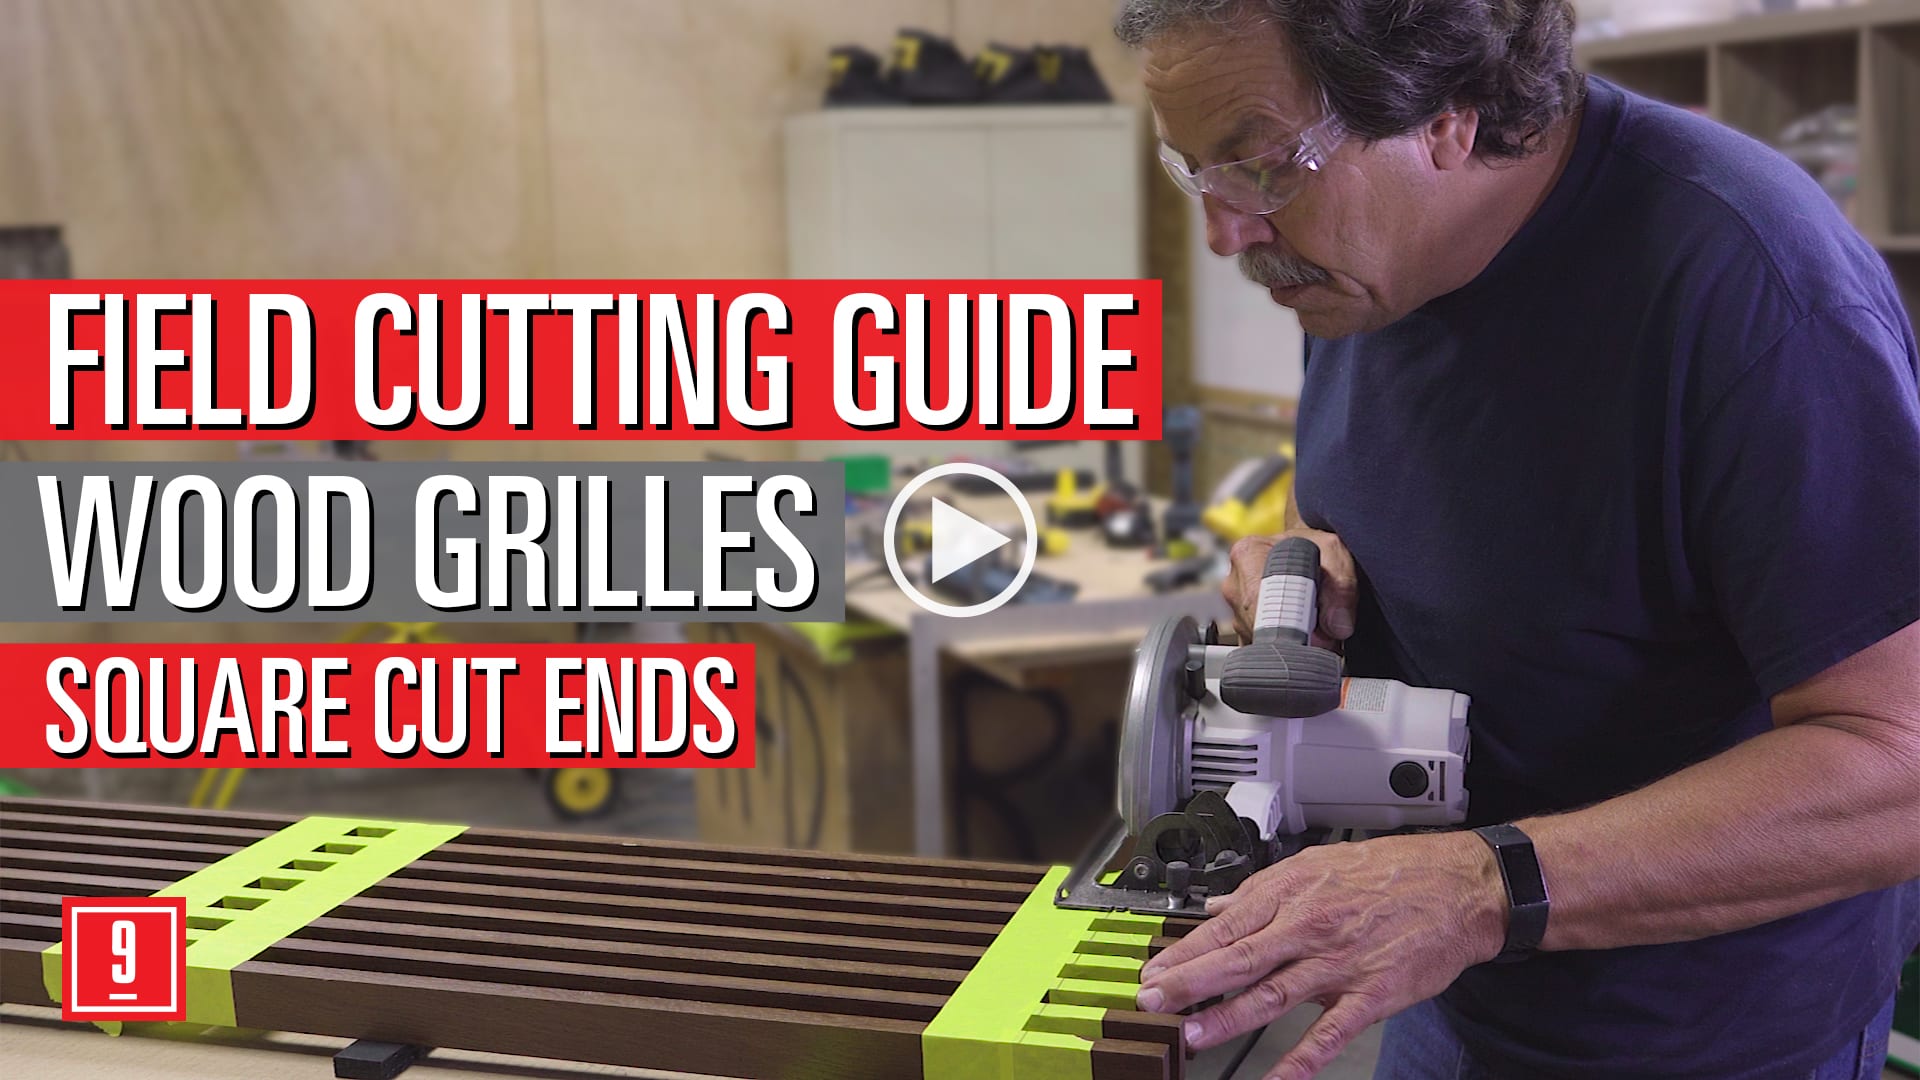
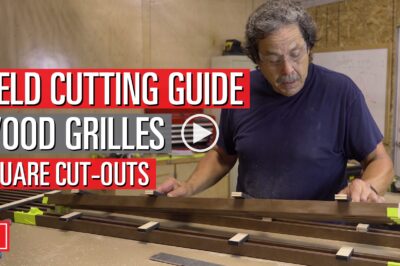
Square Cut Grilles
Today, we’re going to be processing square cut ends for 1100 series Cross Piece Grilles. For the purposes of our demonstration, we’re using a 1” x 2” member grille, but the concept is very similar when you move across different products with different member profiles.
What tools do I need?
Regarding the tools you are going to need, we’ve shown everything you’re going to need here. In particular, make sure you’re going to have a 7-1/4” Circular saw equipped with a 40–60 tooth blade like the Dewalt 3196. We know that job sites can be tricky when it comes to finding a location to do your cutting, but make sure that you have found a safe location where you can do fine detail work.
What to do first?
The first thing you’re going to do is measure the area where the panel is going to be installed. Now, measure the entire length of the area from wood to wood, or in this case from wood to wall, and then reduce the final length of the panel based on reveals from your project. Once the final measurement of your panel has been determined, you’re going to take it to your work surface and prep it for cutting.
Measure and mark
Next, you’re going to measure and mark the location for your cut. Then cover the area with painters’ tape. If there is a backer where the panel needs to be cut, flip the panel over and remove it with a pry bar, ensuring that all staples have been taken out as well. For proper suspension and member alignment, extra backers may need to be reattached; contact your project manager for specific requirements.
Once your primary taping is completed, take your measurement again and mark on the tape exactly where you’re going to be making your cut, finalizing it with your square.
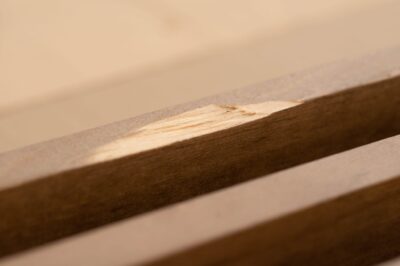
How do you protect the wood grille when cutting with a saw?
You have a couple of choices now; shown here, we razor knife at each member and fold down on the exit side of each piece. That ensures that as the blade leaves, you’re not going to have any tear-out.
Another option is that once you’ve marked your cut, you can fold over the tape on the entirety of all three surfaces in order to ensure you have the cleanest cut possible.
An optional step is to place painters’ tape on either side of the cut location to ensure you’re not going to damage anything with the foot of the saw as you move across the cut.
How do you prepare your saw?
Now that you’re ready for cutting, you’re going to want to make sure you set the depth of your circular saw so that you cut cleanly through all of the members without any issues. Based on your comfort level, you can freehand this cut or you can do this with a straight edge to ensure that you have everything on the mark.
As you begin, it’s important that you stay consistent in speed through the entire panel from member to member and that you don’t stop or slow down. This ensures that you don’t have tear-out or any problems with the next piece as you cut through one entirely.
What to do after your cut?
Upon completion of the cut, you’re going to verify the length of the panel, remove the tape and use a sanding block to clear up any fibers that might be left behind.
Seal ends completely
Your final step is using 9Wood’s provided touch-up finish to touch up the ends with the proper color and then you’re ready to dry-fit your panel and make sure it fits. Once the finish is dry you can move back to the installation location, make sure that the panel fits, then move on to the next one.
If you have any questions about field cutting or would like to talk about details specific to your project, please contact 9Wood and we’ll put you in touch with the right person. As always, thank you for watching and we’ll see you in the next one.
BONUS: Take the time to understand your tools. Although we do not directly install wood ceilings, here is a curated list of tools that we recommend throughout this Field Guide series.
Recommended tools for Field Cutting Wood Grilles
- Tape Measure
- 48″ Straight Edge
- 16″ Framing Square
- Bosch Digital Level/Angle finder
- #2 Ticonderoga Pencil
- 2″ 3m, or equivalent, Yellow Painters Tape
- Pry bar
Finish and touch-up items
- Matching Stain (provided)
- Water-Based Lacquer (provided)
- Sponge Brush or rag (childhood T-shirts for posterity)
Cutting tools
- 7 1/4″ Circular Saw equipped with a 40 to 60 Tooth blade.
- Variable Speed “Jig Saw” equipped with a reverse cut blade.
- Example: Bosch Blade T101BR
- Cordless Drill with side handle
- Appropriate Hole saw arbor (1/2″ was used in our video)
- Appropriate diameter Bi-Metal Hole saw (4 1/4″ was used in our video)
- Japanese Pull Saw (for finish cuts where power tools cannot access)

 Don’t forget the crackers! We use cookies to offer you a better site experience and to analyze site traffic. Read about how we use cookies in our