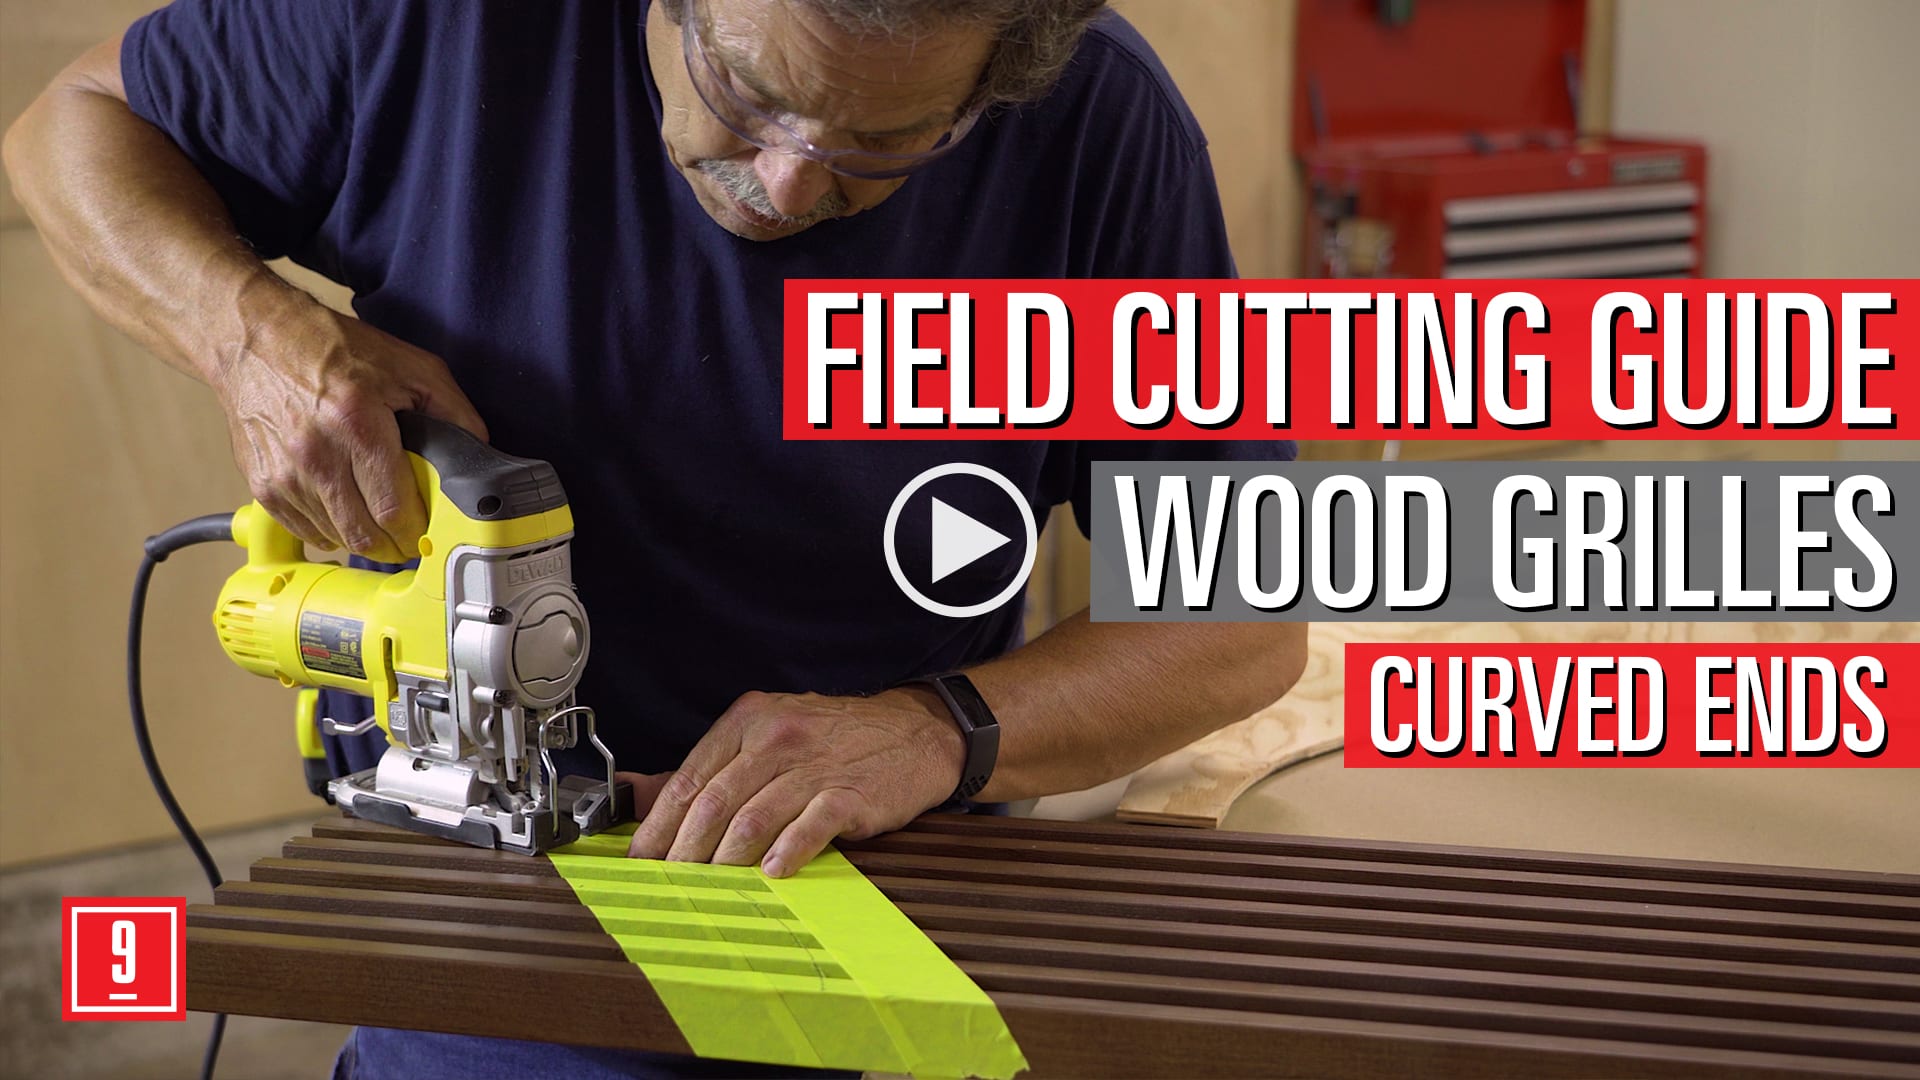
Curved Cut Grilles
In this video, we will be processing curved or circular end cuts in 1100 series Cross Piece Grilles. For the purposes of our demonstration, we’re using a 1’ x 2’ 8-member grille, but the concept definitely does apply to all of our other products in the same line.
What tools do I need?
Regarding the tools you’re going to need, we’ve shown everything you’re going to need here. In particular, make sure you have the variable-speed jig saw with a reverse-cut blade like this Bosch BR 101. We know that job sites can be tricky when it comes to finding a location to do your cutting, but make sure you have found a safe location where you can do fine detail work.
What to do first?
Your first step is going to be measuring the area where the panel is going to be installed. For our demonstration, we have a column with a 1’ radius directly on the wall where the panel is going to finish. You’re going to want to measure the area from wood to wood or wood to column in this case to ensure where on the panel that cut needs to be made. You’re also going to want to verify against your shop drawings as well as the as-built conditions to ensure the size of what you’re going to be cutting around is verified.
We created a plywood template of the column to ensure we knew the exact radius that we are going to create on our panel when we do our marking. If required, you should cut your panel to length first to ensure that it is the right size once your cut-out has been finished. You can look at our square-cut ends video for more information on how to do that. Based on the measurements that you have verified, you’re going to take that information to your panel and mark off correctly where your curved cut is going to be.
What if there is a backer?
If there is a backer where the panel needs to be cut, flip the panel over and remove it with a pry bar, ensuring that all staples have been taken out as well.
How do I prepare for the cut?
Once your initial marks have been made, tape off the area, ensuring that you’ve covered all the surfaces for your cut. Then you are going to re-lay out your template and mark again. Because of the fine detail nature of this task, you’re going to want to use your jig saw and ensure that the foot is perpendicular to the panel as you are making your cut. Again, you are going to want to be cutting cleanly and consistently through each member, making sure you’re not damaging the next one as you exit. If you want to stop and make sure that you’re on mark for the next cut, that’s fine; you can do that, but make sure that you finish the cut of a member completely before you move on to the next one and reset.
How do I wrap up?
For proper suspension and member alignment, extra backers may need to be reattached. Contact your project manager for specific requirements. Upon completion of the cuts, you can use your template to verify that the cut was made correctly, remove your tape and sand off any areas where you might have left fibers behind. Then you’re going to use 9Wood-supplied touch-up finish to seal the area and ensure that the ends have the right color; then you can go check your fit.
If you have any question about your field cutting or need to go over your project’s specifics, please contact 9Wood and we’ll get in touch with you. Thanks again for watching and we’ll see you next time.
 Don’t forget the crackers! We use cookies to offer you a better site experience and to analyze site traffic. Read about how we use cookies in our