
If you haven’t already, we encourage you to read An Introduction to Wood Ceiling Repair. This video dives specifically into surface damage and is part of a larger series of 9Wood Field Guides. We hope you find them useful!
Getting Started Repairing Surface Damage on Wood Ceilings
So today, we’re going to be going over a few basic types of cosmetic damage that can occur in the field during handling or installation. We will also give you a couple of tips and techniques on how to address them. We are not going to cover every conceivable type of damage that can occur but should address most situations.
Tools to Use
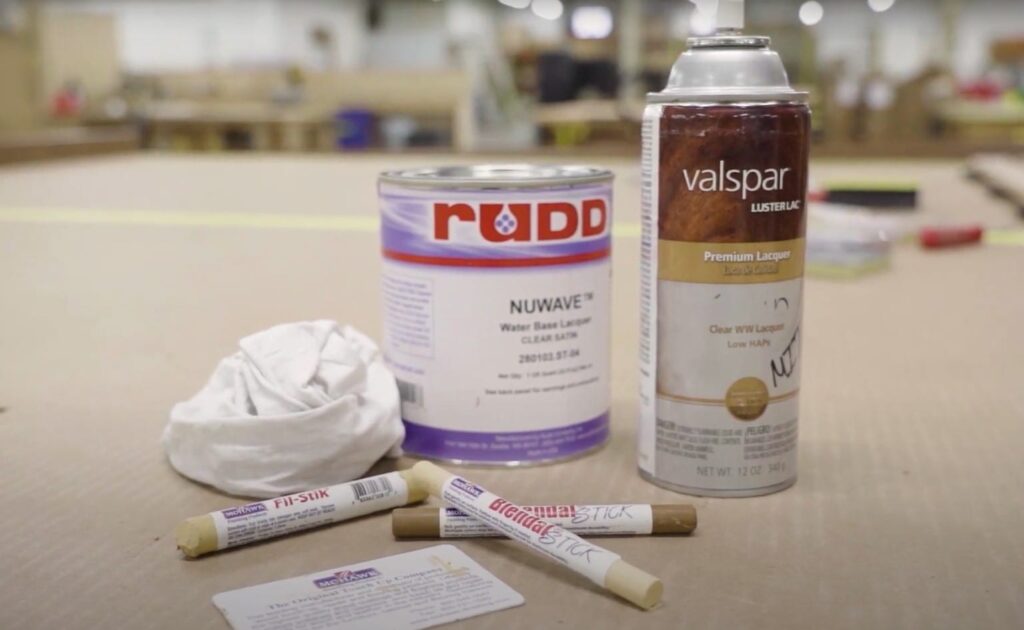
The tools we’ll be using include a filler, color-blend sticks, and protective clear satin pre-catalyzed lacquer. For quick fixes, we recommend using a wax-based filler, which is available in a variety of colors from Guardsman, Mohawk, and Varathane and require no sanding or protective finish. If you don’t find a perfect color match, go with the nearest darker shade.
How to Repair a Deep Scratch
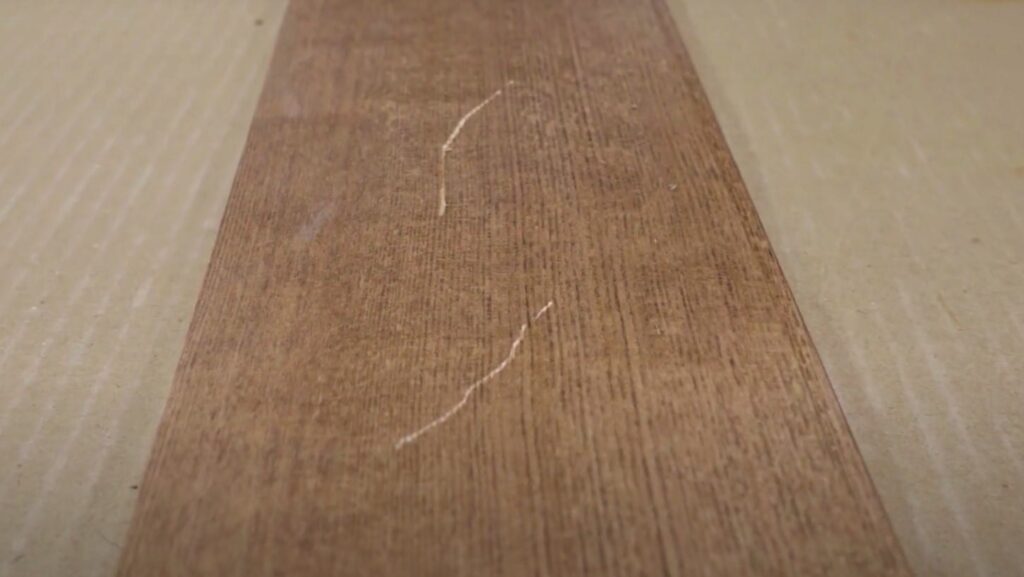
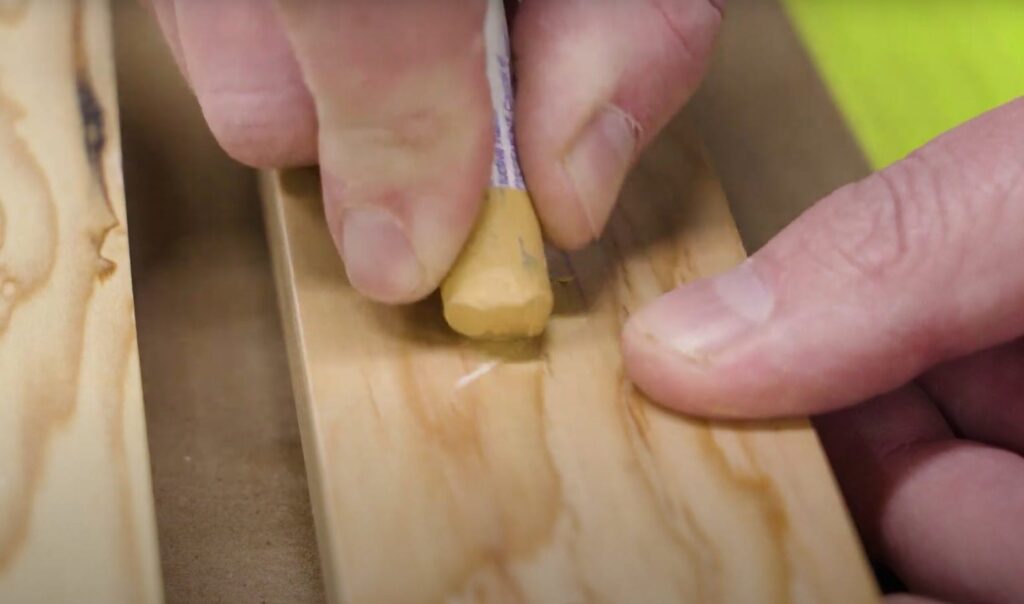
Here we have a deep scratch on the face of a panelized linear. Rub the filler vigorously across the gouge from side to side, using friction to soften the wax and work it into the defect.
Once completely filled in, remove the excess with a plastic putty knife or stiff piece of plastic, such as the edge of an old credit card. Make sure to go along the length of the defect to avoid gouging out the fill.
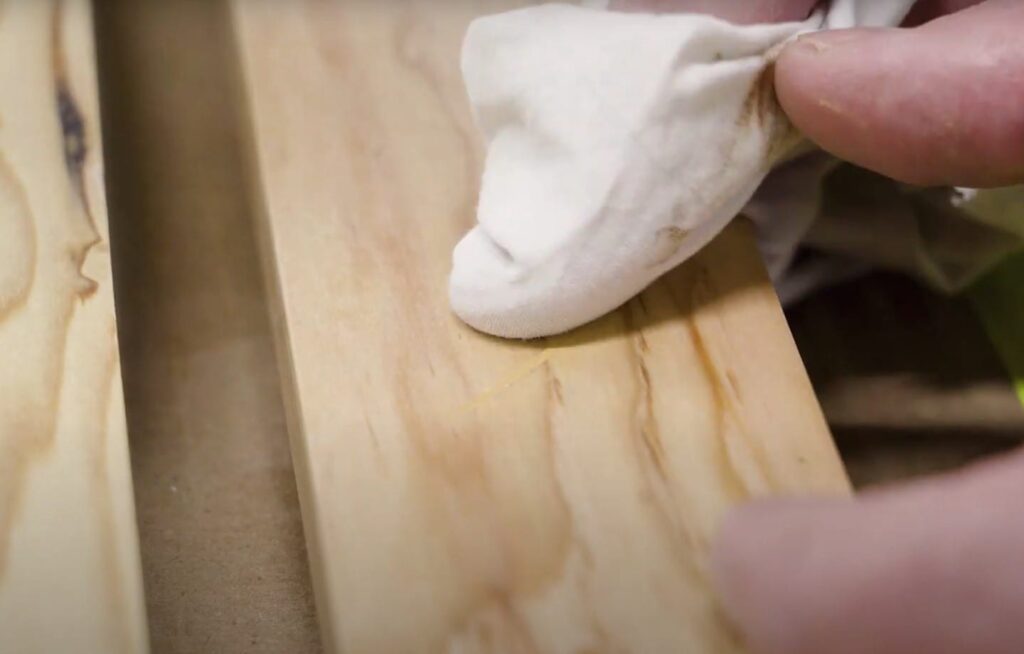
The remaining excess can be removed with a cloth, but take care not to wipe the fill itself to prevent dishing it out. You can reduce the shine of the wax filler by using a cloth wrapped around the leveling tool.
How to Match the Grain on Surface Damage
Sometimes just filling the damage is sufficient, but in this case, the repair is visible due to the gouge running across the grain where there’s a lot of natural variation, while the fill we added is uniform.
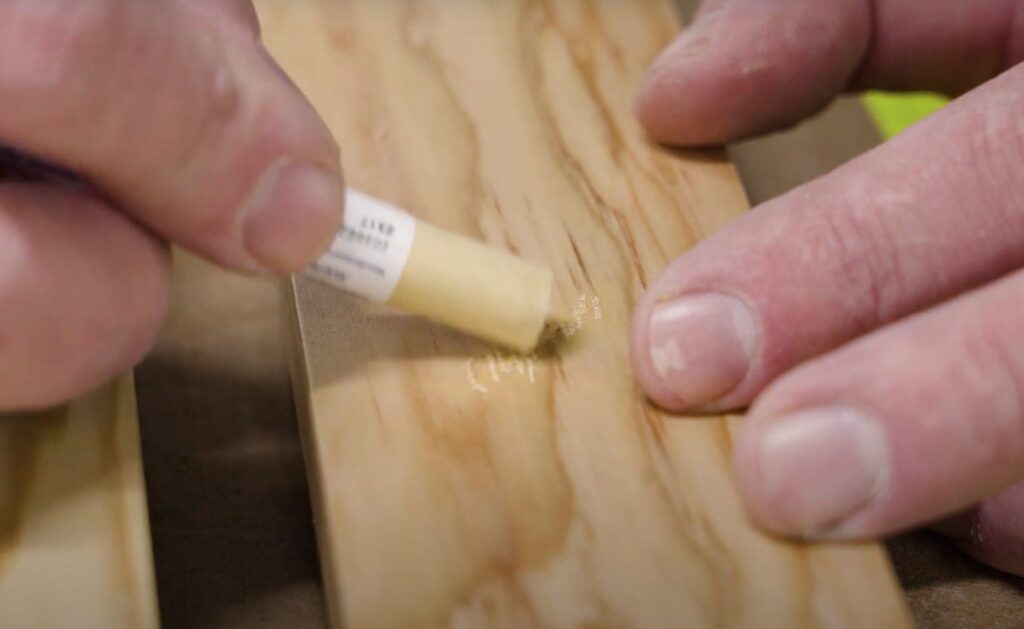
So we’re going to apply some color from a pigment stick to soften the contrast of the repair against the wood. Simply strike on a little color in the direction of the grain to break up the outline of the repair.
Since there is also some dark grain that was disrupted by the repair, we will recreate it by adding some darker colored pigment, gently striking it in to reconnect the grain. The color is then blended into the surrounding wood with your finger.
Applying Finish to Your Surface Damage Repair
Once the repair is indistinguishable from more than a few feet away, seal the color in with a light film of protective finish. This also helps match the sheen with the top coat.
Related Video: Wood Finishes – Take Your Project from Good to Gorgeous!
In Conclusion
We hope this video has been helpful. If you have any specific questions regarding touch-ups or repairs or your project in particular, please contact your project manager. Thanks for watching.


 Don’t forget the crackers! We use cookies to offer you a better site experience and to analyze site traffic. Read about how we use cookies in our